If you’re looking for a backpacking trip that delivers big mountain views, alpine lakes, wildflowers, challenging climbs, and four 12,000+ foot passes in one unforgettable trek, definitely put the Four Pass Loop at the top of your Colorado bucket list.
Located in the Maroon Bells-Snowmass Wilderness near Aspen, Colorado, the Four Pass Loop is one of the state’s most iconic backpacking routes, and for good reason. The trail winds through some of the most spectacular scenery in the Rocky Mountains, passing beneath dramatic peaks, through high alpine basins, and over four major mountain passes.
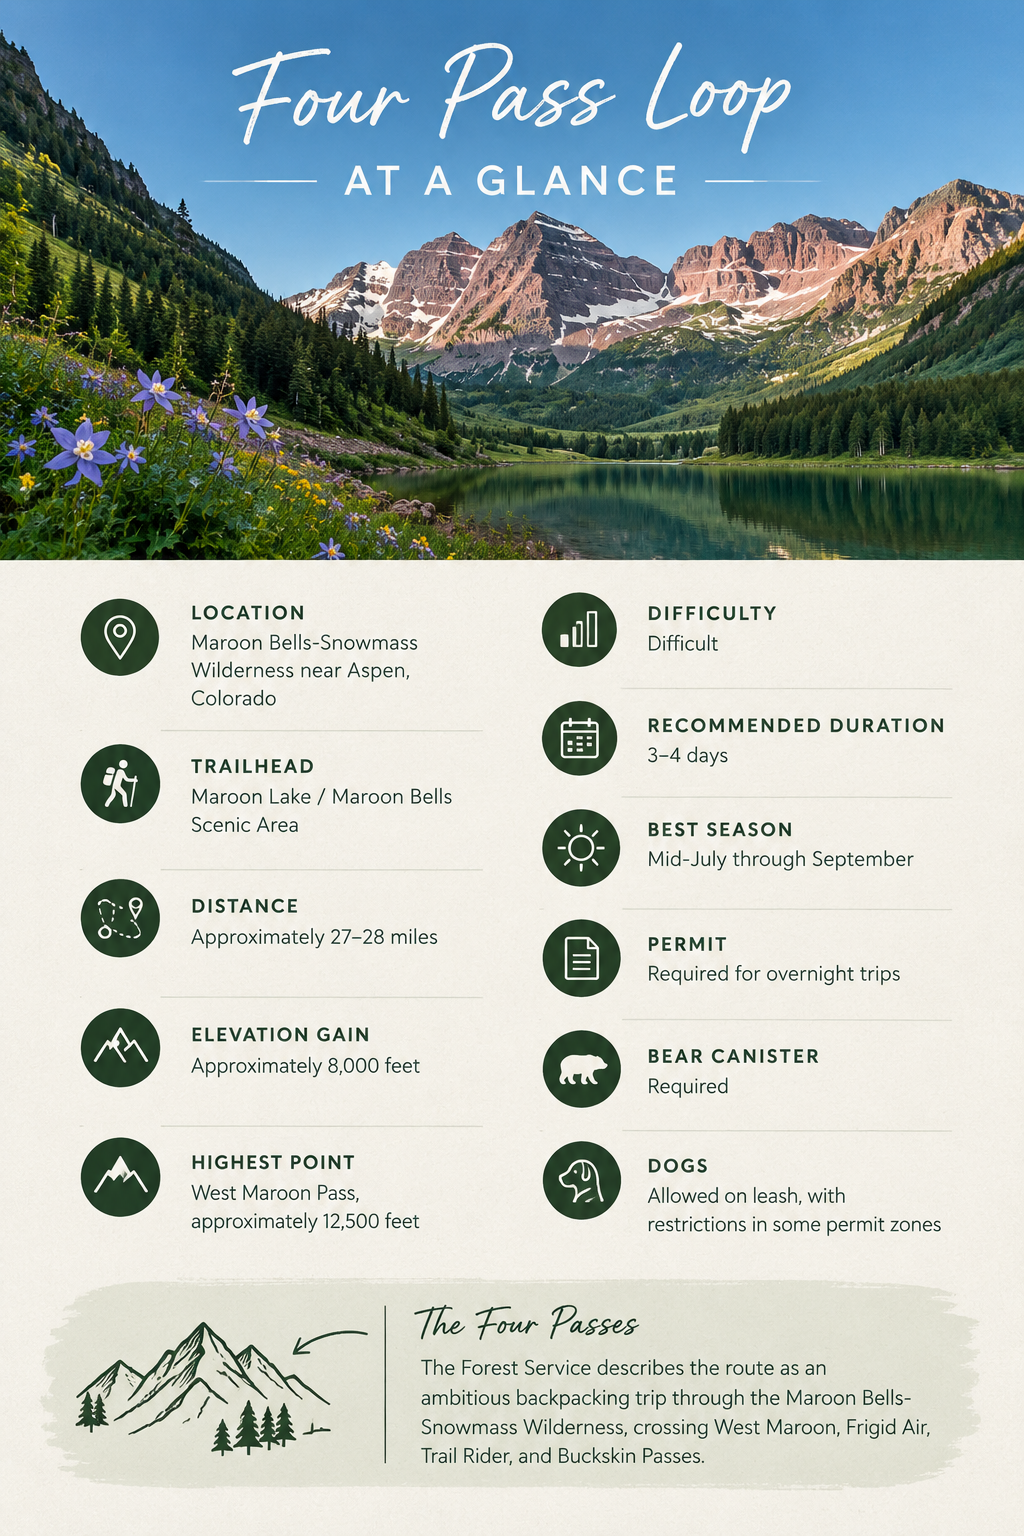
But don’t let the Instagram-worthy views fool you - this is a challenging backpacking trip. The standard loop is roughly 27-28 miles with around 8,000 feet of elevation gain, and the route spends a significant amount of time above 10,000 feet, with the four passes reaching roughly 12,000–12,500 feet.
BUT if you're prepared for the elevation and ready to earn those beautiful mountain views, here's everything you need to know before tackling the Four Pass Loop.
Why Hike the Four Pass Loop?
There are plenty of hard backpacking trips in Colorado, so what makes the Four Pass Loop worth all the effort? The scenery. This route packs an almost ridiculous amount of Colorado beauty into fewer than 30 miles.
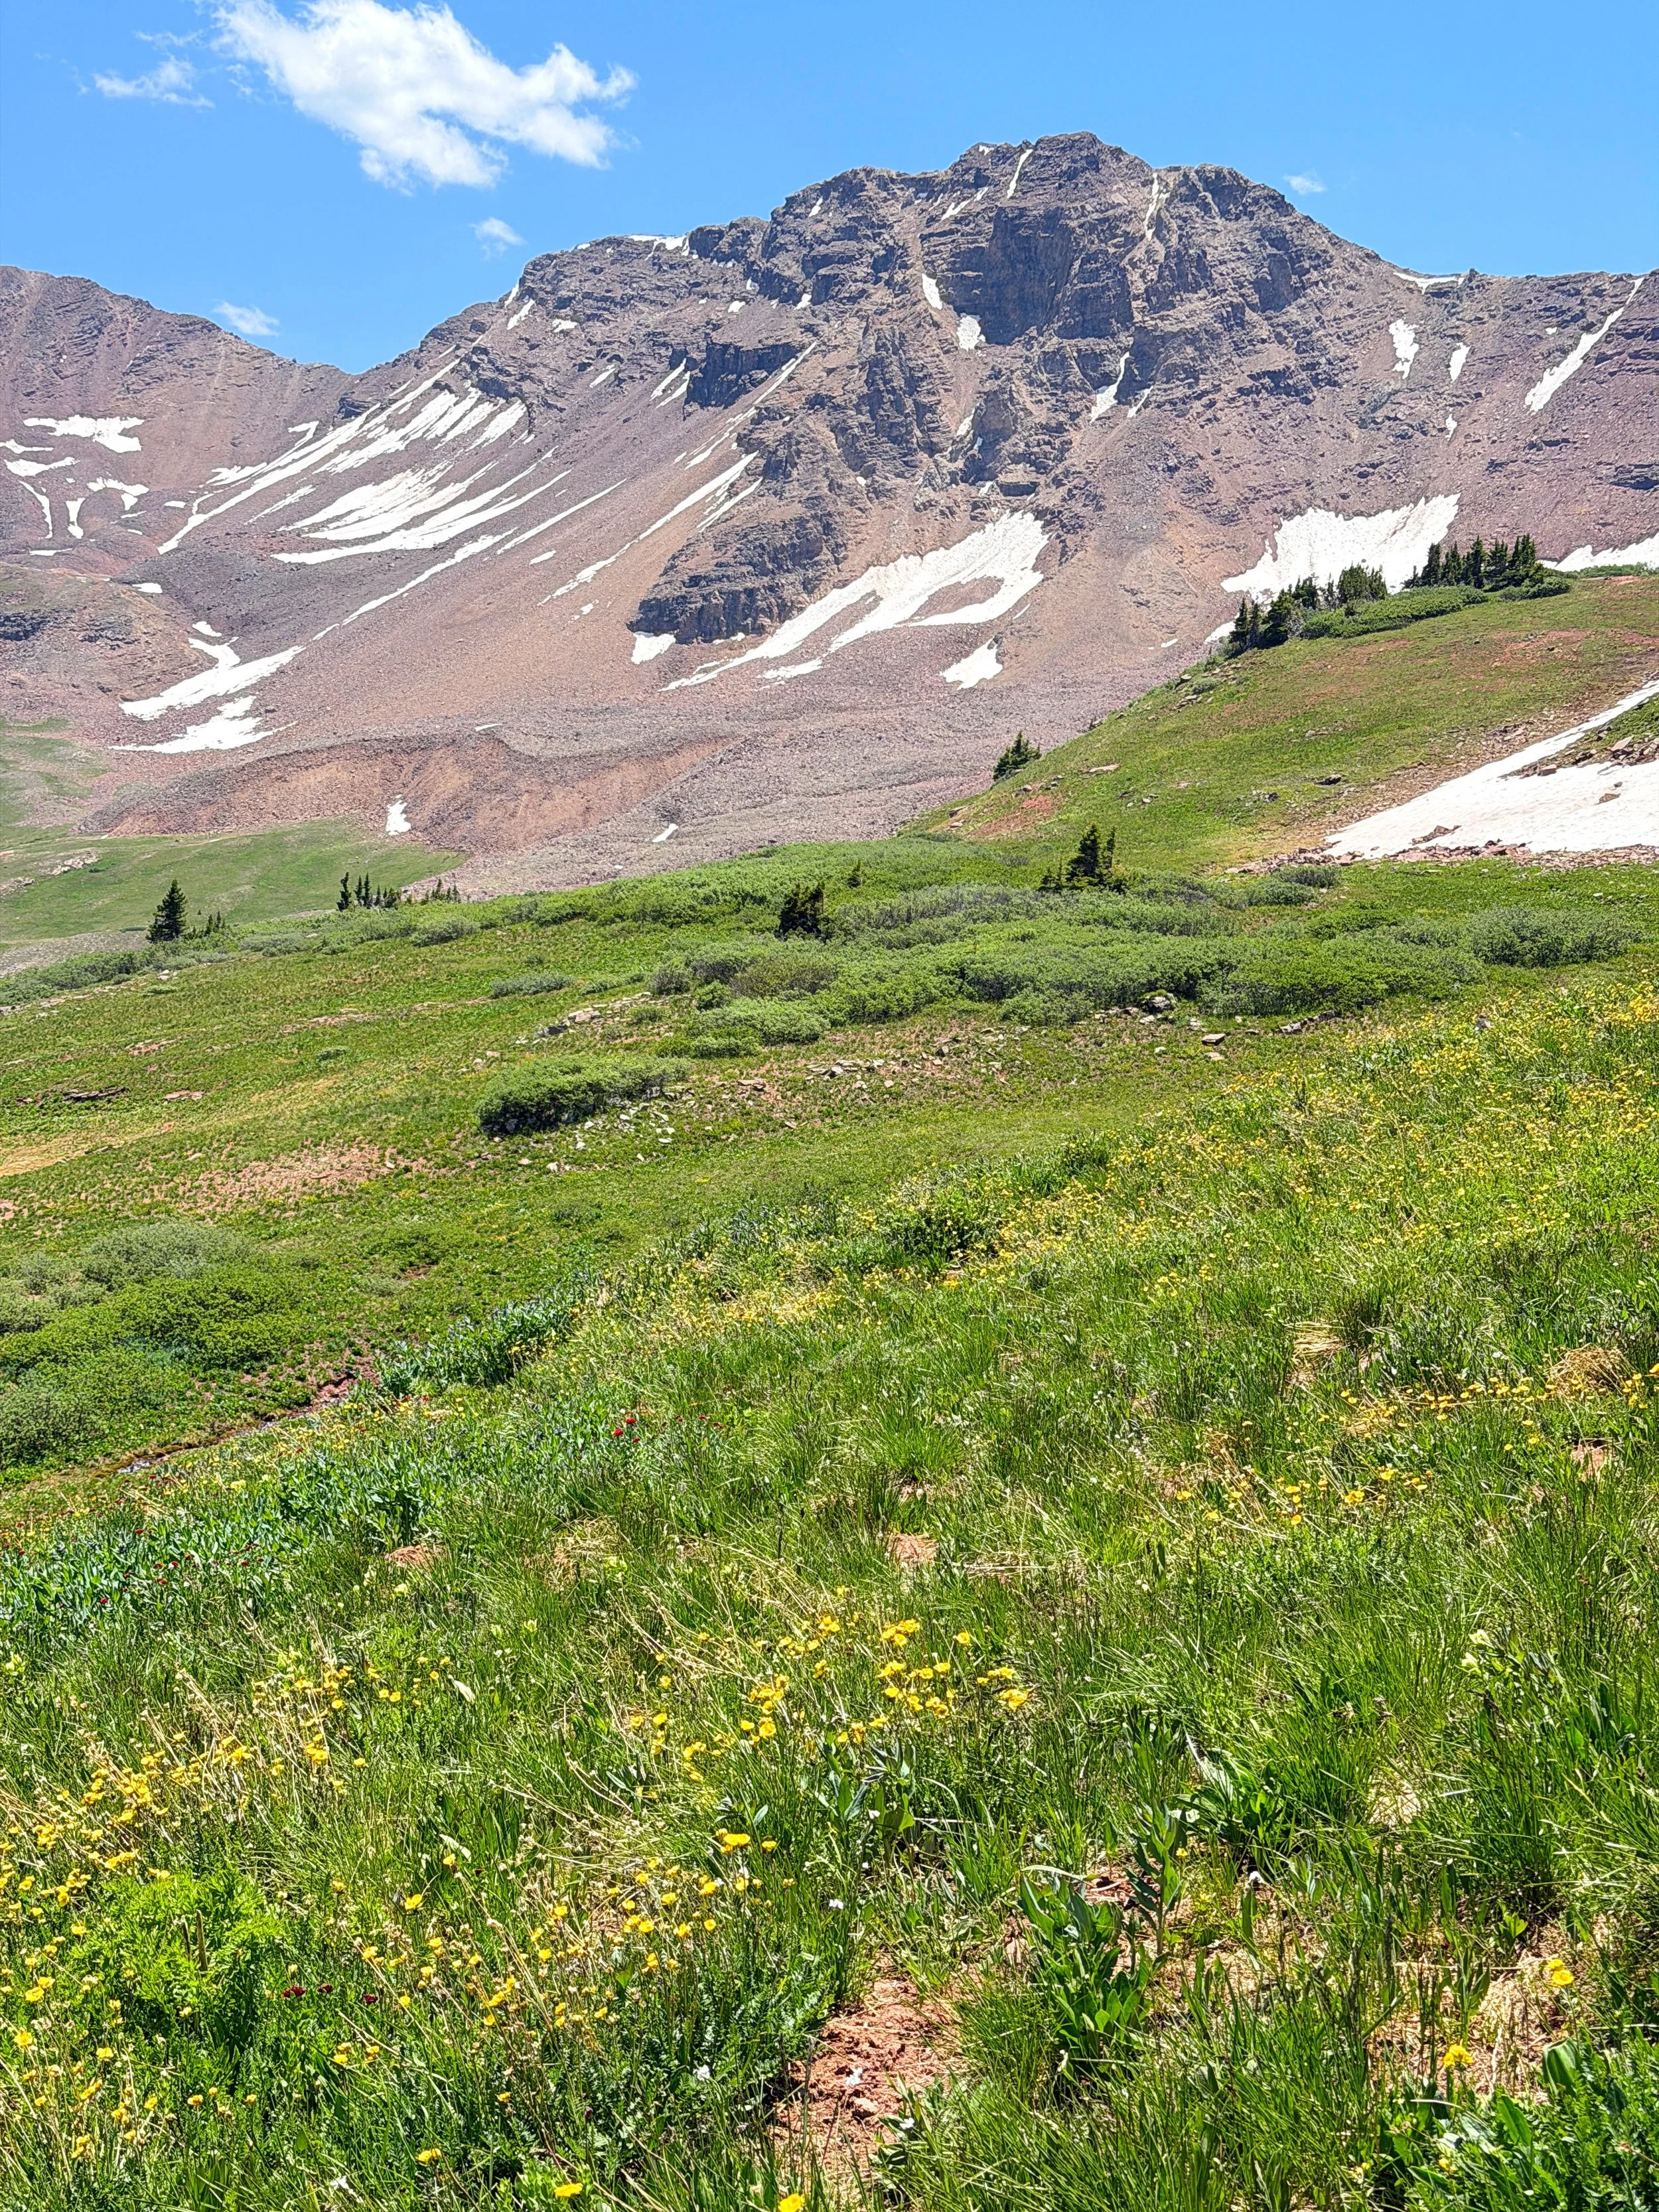
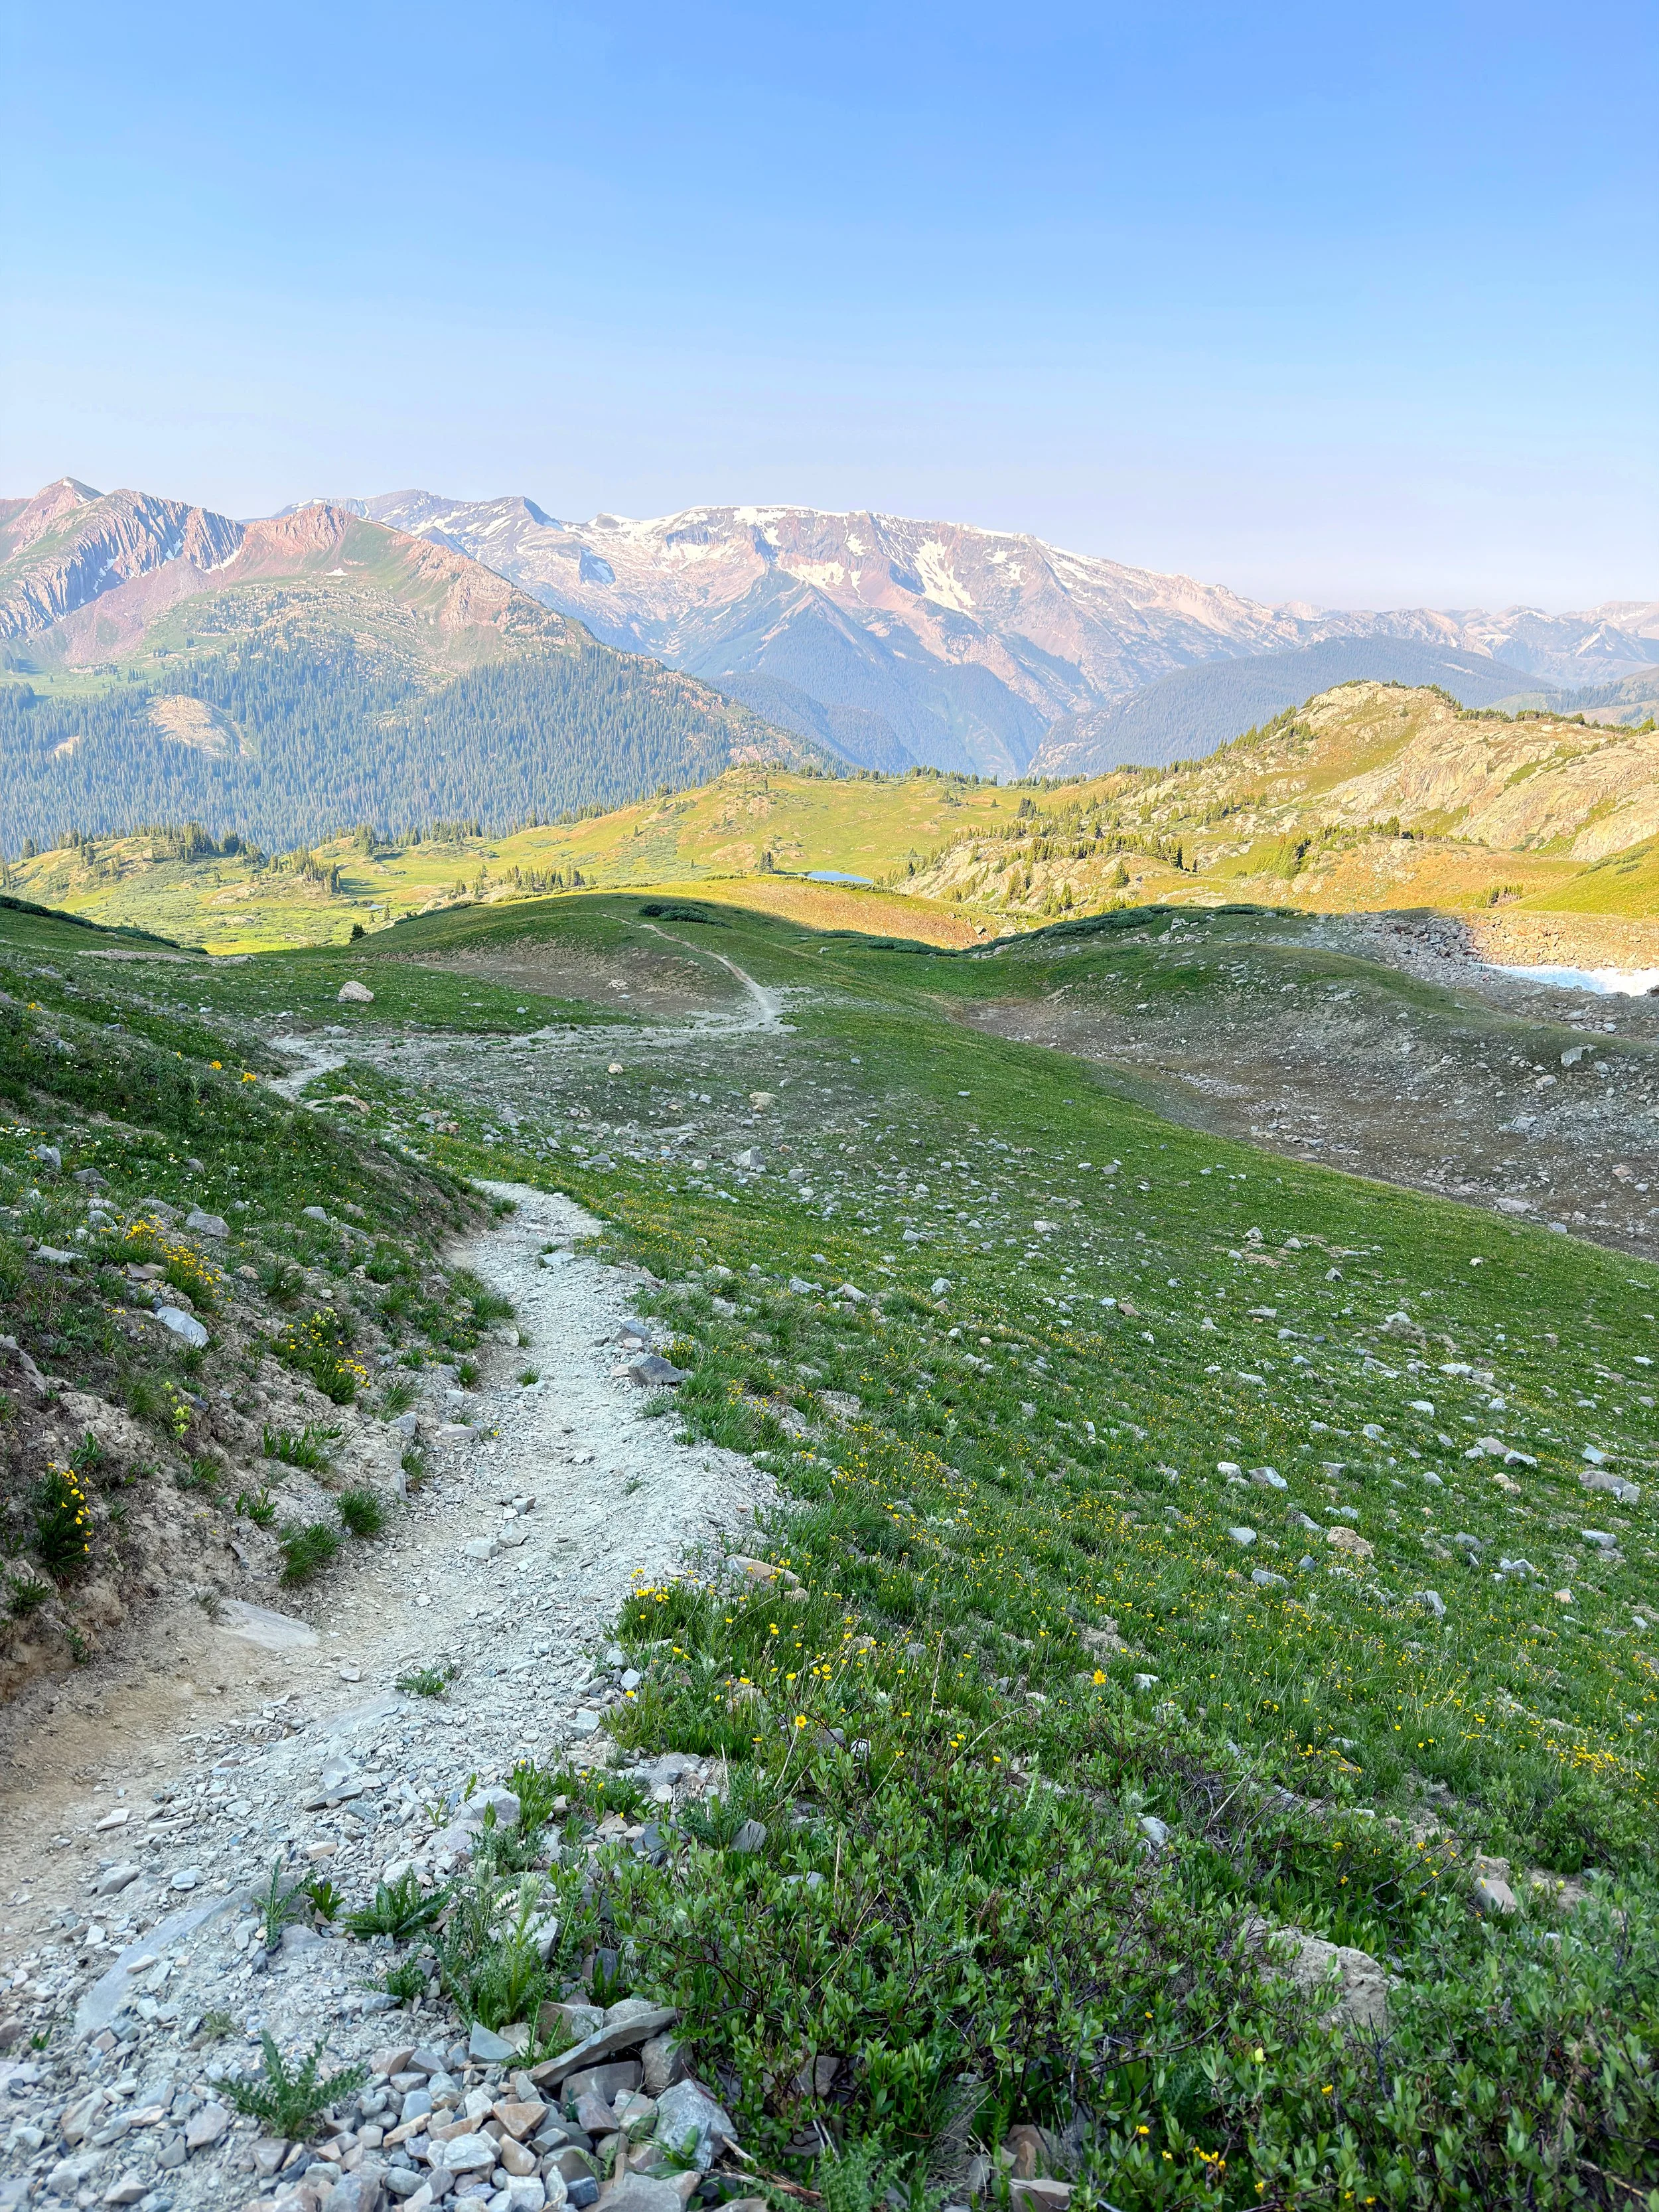
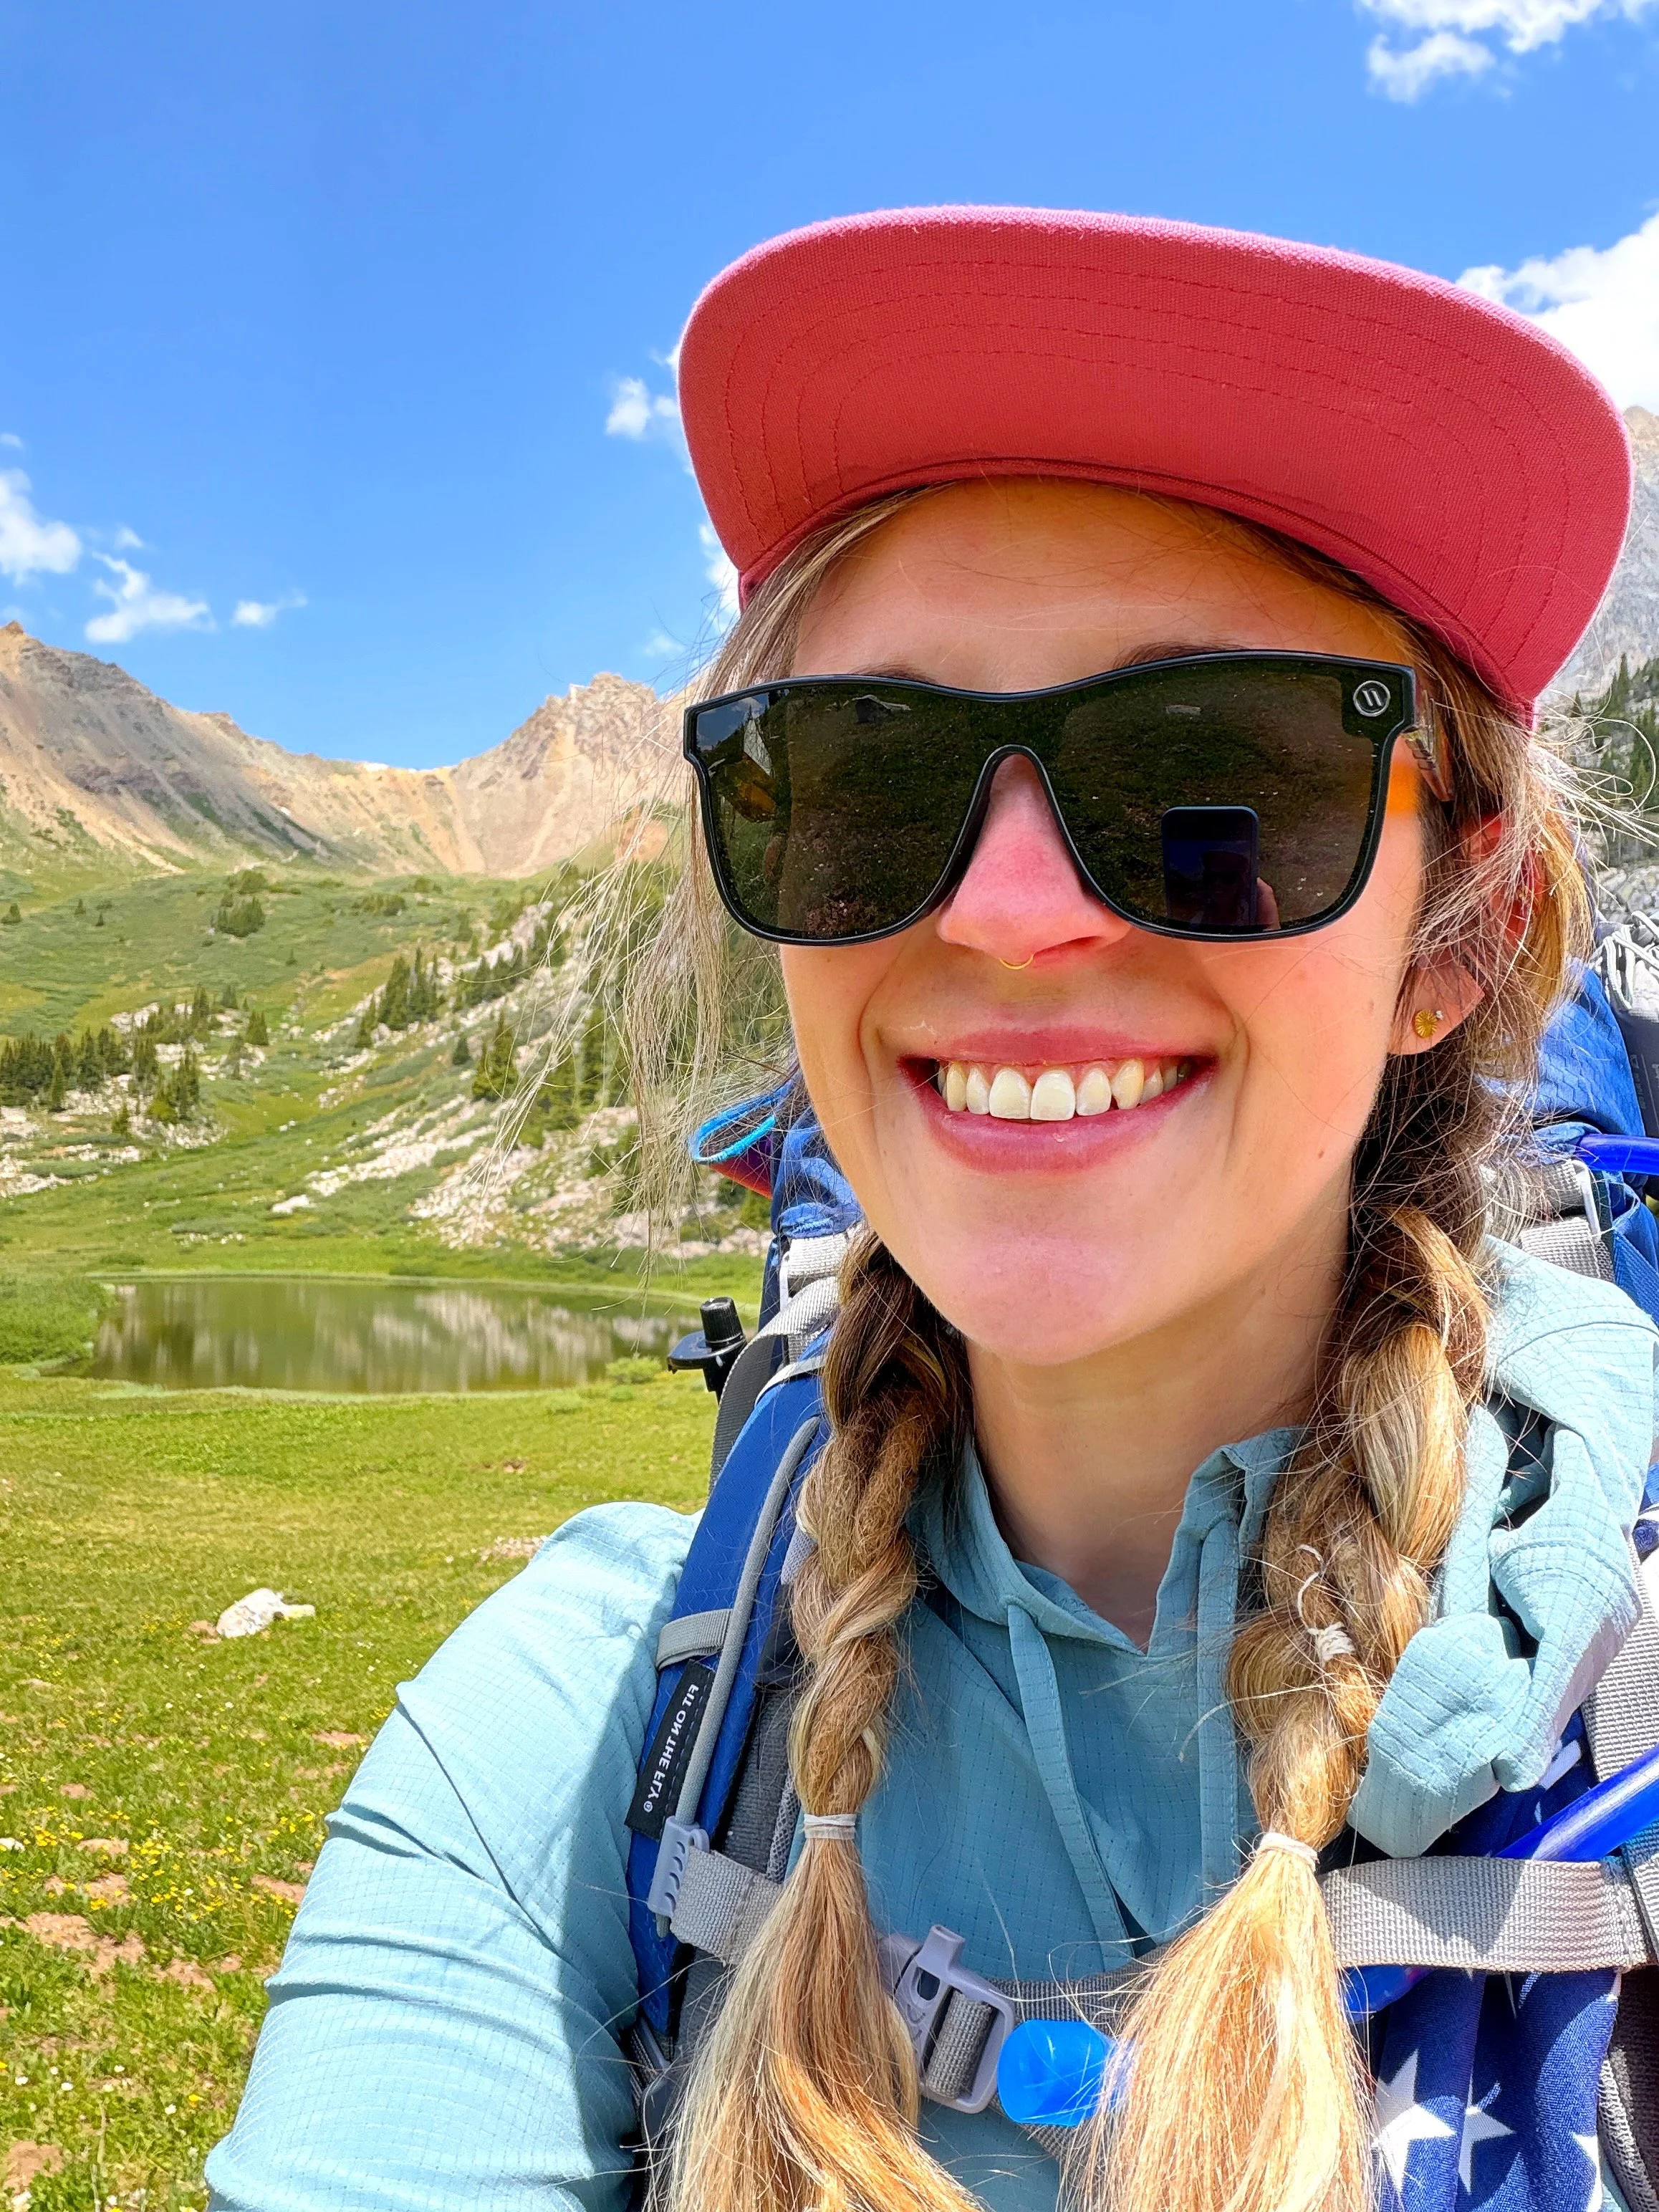
You’ll hike beneath the iconic Maroon Bells, climb into high alpine basins, pass turquoise mountain lakes, wander through wildflower-filled meadows, spot plenty of wildlife, and cross four 12,000+ foot mountain passes with sweeping views in every direction.
And because it’s a loop, the scenery is constantly changing. You’re not hiking to one destination and turning around, you’re moving through an entirely new landscape with every mile.
⛰️ The four passes: West Maroon Pass (~12,500 ft), Frigid Air Pass (~12,400 ft), Trail Rider Pass (~12,400 ft), and Buckskin Pass (~12,500 ft). Each has its own personality, and by the end, you’ll probably have a favorite… and one you’d happily never see again.
In short: if you want a backpacking trip that feels quintessentially Colorado, this is it.
When to Hike the Four Pass Loop
The Four Pass Loop is a seasonal adventure, and while overnight permits are available throughout the year, the conditions on the trail can vary dramatically depending on when you go.
Permits are released for three hiking windows:
April 1–July 31 — permits available mid-February
August 1–November 30 — permits available mid-June
December 1–March 31 — permits available mid-October
For a typical backpacking trip, July, August, and September are by far your best bets. These months generally offer the best chance of snow-free passes, accessible trails, plenty of water, and more favorable weather.
****************************************************************************************************
🌼 April–July: Spring & Early Summer
The first permit window runs from April 1st through July 31st, but that doesn't necessarily mean the Four Pass Loop is ready to hike in April… Early-season conditions can be extremely challenging. Snow can linger well into summer at 12,000+ feet, and you can count on encountering some snow-covered passes, muddy trails, high creek crossings, and just generally unstable conditions during this time of year.
If you're hoping to hike during this window, July is your best bet. By mid-to-late July, the high country is typically much more accessible, wildflowers are popping off, and the long summer days make it easier to tackle those big miles and elevation gains.
🍂 August–November: Peak Summer & Fall
The second permit window runs from August 1st through November 30th, and this is prime Four Pass Loop season.
August is arguably the best month to hike the loop. Snow is generally less of a concern, wildflowers can be spectacular, and you’ll have long summer days to tackle all four passes.
September is another fantastic option, with cooler temperatures, fewer bugs, crisp mornings, and the possibility of some beautiful fall color.
By October and November, conditions can change quickly. Snow and freezing temperatures become increasingly likely at elevation, and you’re moving firmly out of typical summer backpacking conditions. That doesn’t mean the loop can’t be done - it just means you’ll need to be prepared for a much more challenging and potentially wintry experience.
❄️ December–March: Winter
The third permit window runs from December 1st through March 31st, but winter is a completely different ballgame on the Four Pass Loop.
Deep snow, avalanche danger, extreme cold, and difficult or impossible trail access can all come into play. This isn’t your typical three-night backpacking adventure - it’s a serious winter backcountry undertaking that requires the right skills, equipment, experience, and conditions. But if a snowy Four Pass Loop is calling your name, just know what you’re getting yourself into before you go.
So, When Should You Go?
For a traditional backpacking trip, I’d aim for:
🥇 August — Peak conditions
🥈 September — Cooler weather + fewer crowds
🥉 July — Early-season option + long days
And whenever you go, remember that Colorado weather can change quickly at elevation. Summer afternoon thunderstorms are a real concern, so start your days early and avoid lingering on exposed passes when storms are moving in. (The Four Pass Loop is hard enough without adding a lightning storm to the itinerary.)
Planning Your Route
You can technically complete the Four Pass Loop in a single day (if you’re a slightly unhinged ultra-runner, that is), but unless you’re intentionally going for a fast-and-light adventure, I recommend giving yourself 3–4 days. For most backpackers, 4 days / 3 nights strikes a good balance between mileage, elevation gain, and actually having time to enjoy the scenery.
When planning your trip, there are two big things to figure out: which direction you want to hike and which camping zones you’ll stay in each night. Your direction determines the order of the zones, so it’s worth figuring out your route before you book your permits.
🧭 Clockwise vs. Counterclockwise
You can hike the Four Pass Loop in either direction, and honestly, there's no wrong way to do it. The scenery is spectacular no matter which way you go. Your permit availability may ultimately make the decision for you, but here's how the two options break down.
Clockwise
Maroon Bells → West Maroon Pass → Frigid Air Pass → Trail Rider Pass → Snowmass Lake → Buckskin Pass → Maroon Bells
This is the direction I hiked the Four Pass Loop, and honestly, I loved it. You’ll tackle West Maroon Pass first, followed by Frigid Air and Trail Rider, before reaching the Snowmass area. Then you’ll finish the loop with Buckskin Pass before descending back toward Maroon Lake.
For me, the scenery unfolded beautifully in this direction, but I also loved the way the passes were spaced out. You get three of the four big climbs behind you before reaching Snowmass, then save Buckskin for the final stretch. It’s still a big climb, but there’s something satisfying about knowing you’re on the home stretch afterward.
Clockwise Camping Zone Options:
🏕️ Night 1: East Fork or North Fork
🏕️ Night 2: North Fork or Snowmass Lake
🏕️ Night 3: Snowmass Lake or Upper Snowmass
Your exact camping zone will depend on what’s available when you book your permit, so use these as your general options rather than a rigid itinerary.
Counterclockwise
Maroon Bells → Buckskin Pass → Snowmass Lake → Trail Rider Pass → Frigid Air Pass → West Maroon Pass → Maroon Bells
Going counterclockwise puts Buckskin Pass at the beginning of your trip, while your legs are still fresh, rather than saving it for the final stretch. From there, you’ll make your way through the Snowmass area before crossing Trail Rider, Frigid Air, and finally West Maroon Pass on your way back to the Maroon Bells.
While I didn’t hike the loop in this direction myself, I can definitely see the appeal. You’ll start out in the forest before climbing into those big alpine views, and you’ll reach Snowmass Lake early in the trip, giving you plenty of time to soak it all in.
Counterclockwise Camping Zone Options:
🏕️ Night 1: Upper Snowmass or Snowmass Lake
🏕️ Night 2: Snowmass Lake or North Fork
🏕️ Night 3: North Fork or East Fork
As with the clockwise route, your exact camping zones will depend on what’s available when you book your permits, so plan your direction and itinerary around the reservations you’re able to snag.
Which Direction Should You Choose?
People can get pretty diehard about their preferred direction, but honestly, both are great - there’s no single “right” way to hike the Four Pass Loop. If you’re on the ball when permits are released, you’ll likely have your pick of direction since you’ll have first dibs on the camping zones. If not, don’t sweat it. See what’s available for your dates and build your itinerary around the zones you can snag. At the end of the day, you’re hiking the same four passes, seeing the same incredible scenery, and probably questioning your life choices at least once. The mountains don’t care which way you went.
****************************************************************************************************
🗺️ My 4-Day Clockwise Itinerary
Okay, let me start by saying that we (admittedly) did not follow our permits exactly - and not on purpose! We hiked a little farther than we should have on our first day, which made for an extra long day… and, to make matters worse, we ran out of water. So let our little misadventure be your lesson: read the map carefully, stick to your permitted camping zones, and respect the rules of the wilderness. Rangers do check permits!
That said, the itinerary we ended up following was spectacular (despite that very long first day), and knowing what I know now, I’d absolutely do it again. Just with a little more attention to the map, and a lot more water. 😅
Day 1: Maroon Bells → West Maroon Pass → Frigid Air Pass (~11.5 Miles)
Camping Zone: North Fork
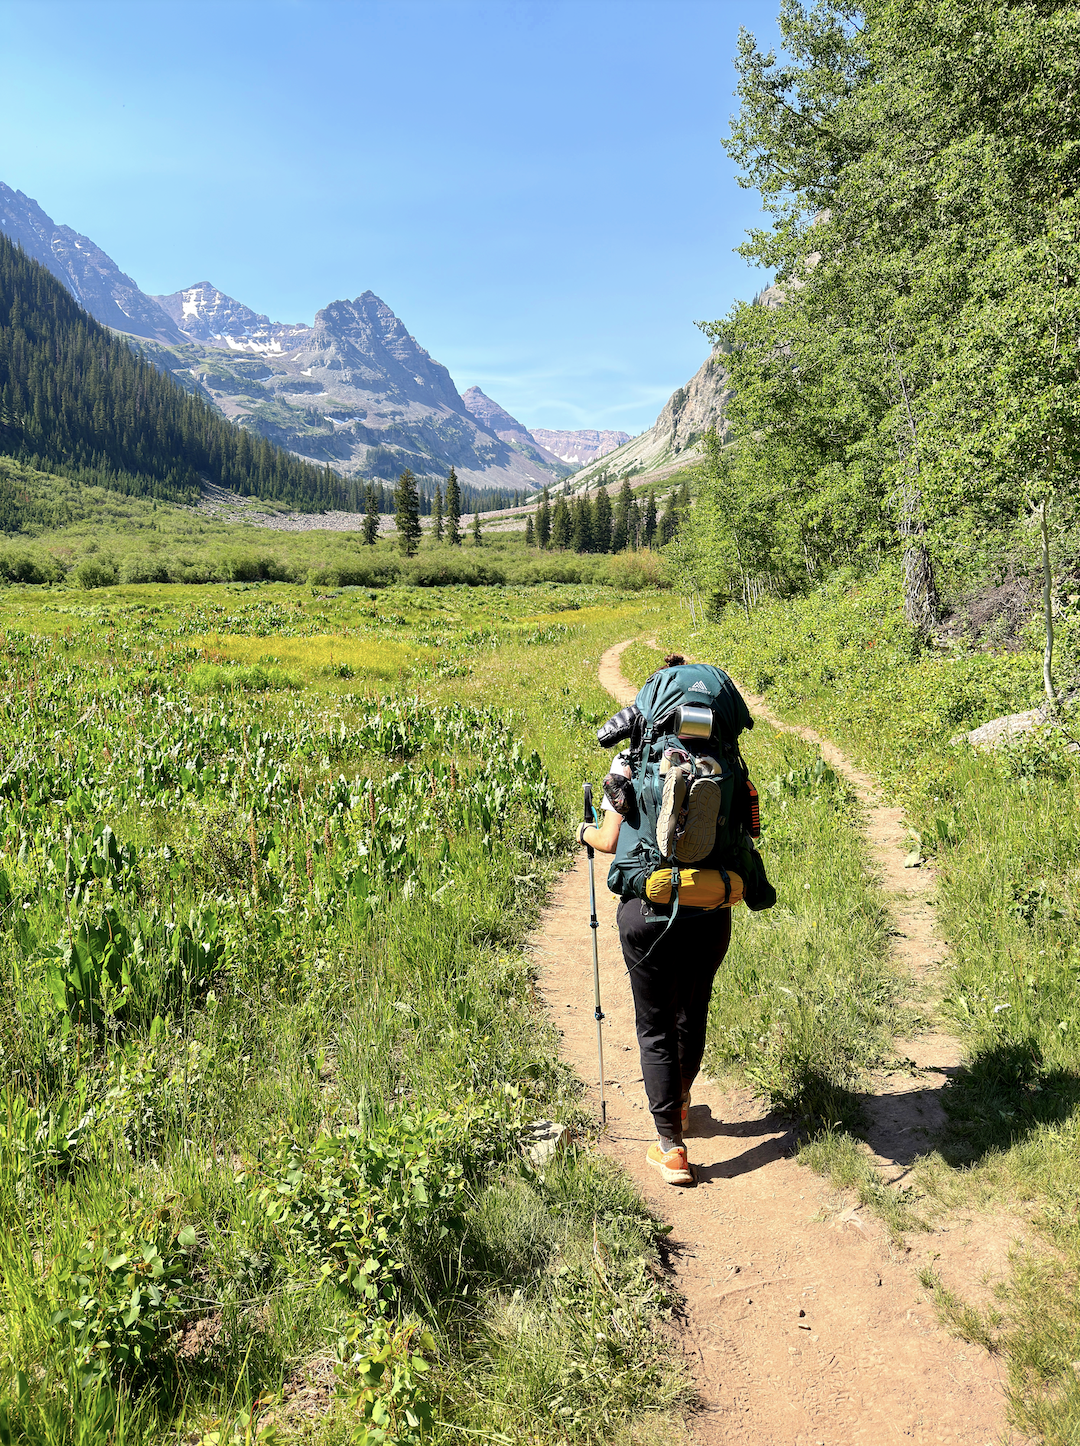
Our first day started bright and early at the iconic Maroon Bells and immediately dropped us into some of the most spectacular scenery of the entire loop. The wildflowers were popping, the deer were bopping around, and the sun was shining high. A pretty dreamy way to start a backpacking trip.
We made our way through the valley before the trail started climbing …and climbing …and climbing toward West Maroon Pass (~12,500 ft), our first big pass of the trip at around mile 7. And let me tell you, it was a doozy. After crossing the pass, we descended for a couple of miles before heading right back up again toward Frigid Air Pass (~12,400 ft) around mile 9. After summiting, we had about 3 more miles to go before we finally settled into the first campsite we came across because dang, were we tired.
I’m not going to lie: two big passes in one day took a lot out of us. But the scenery was absolutely breathtaking, and there was something pretty satisfying about knocking out two of the four passes right out of the gate.
One thing to know before you go: Day 1 is very, very exposed. There isn’t a ton of shade, so prepare for plenty of sun and make hydration a priority. Bring more water than you think you’ll need, and fill up whenever you have the opportunity. Trust me on this one.
Day 2: Frigid Air Pass → Trail Rider Pass (~6.5 Miles)
Camping Zone: North Fork
Today we got back on track and stuck to our permitted North Fork Zone, which, by the way, is huge. After breakfast, coffee, packing up, and lacing up our boots, we set out for what would be a much more mellow day of hiking (thank goodness).
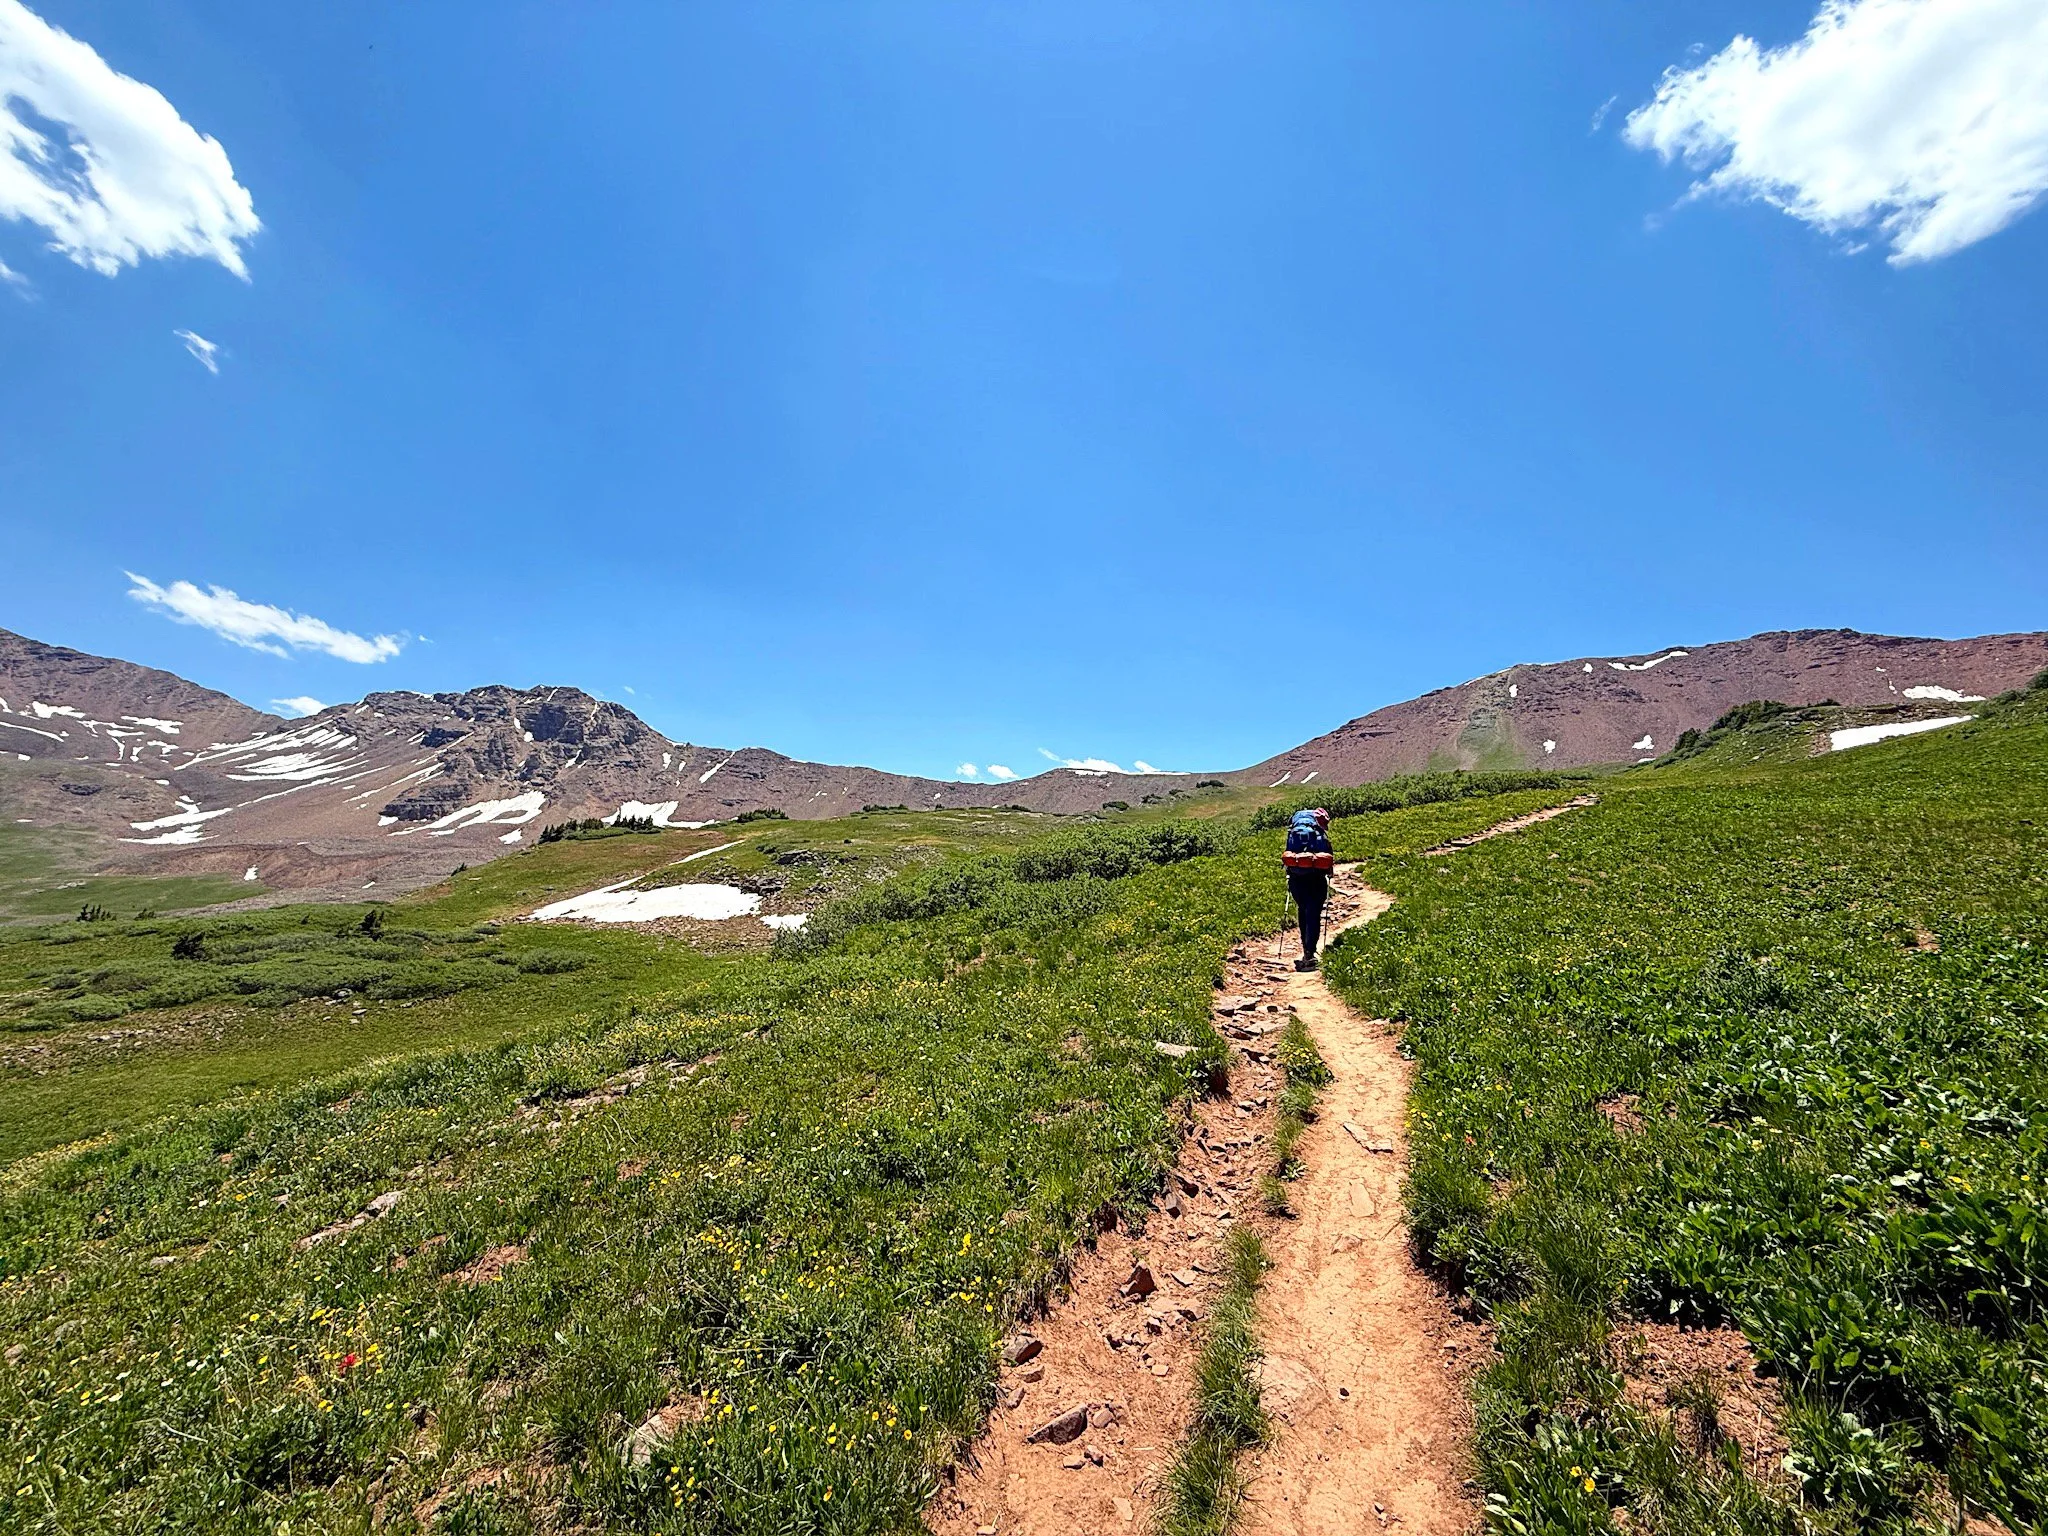
The trail eased us downhill through more wildflowers, waterfalls, and some truly spectacular views before we started climbing again. We made our way up about half of Trail Rider Pass before setting up camp roughly a mile below the summit so we could stay within the North Fork Zone.
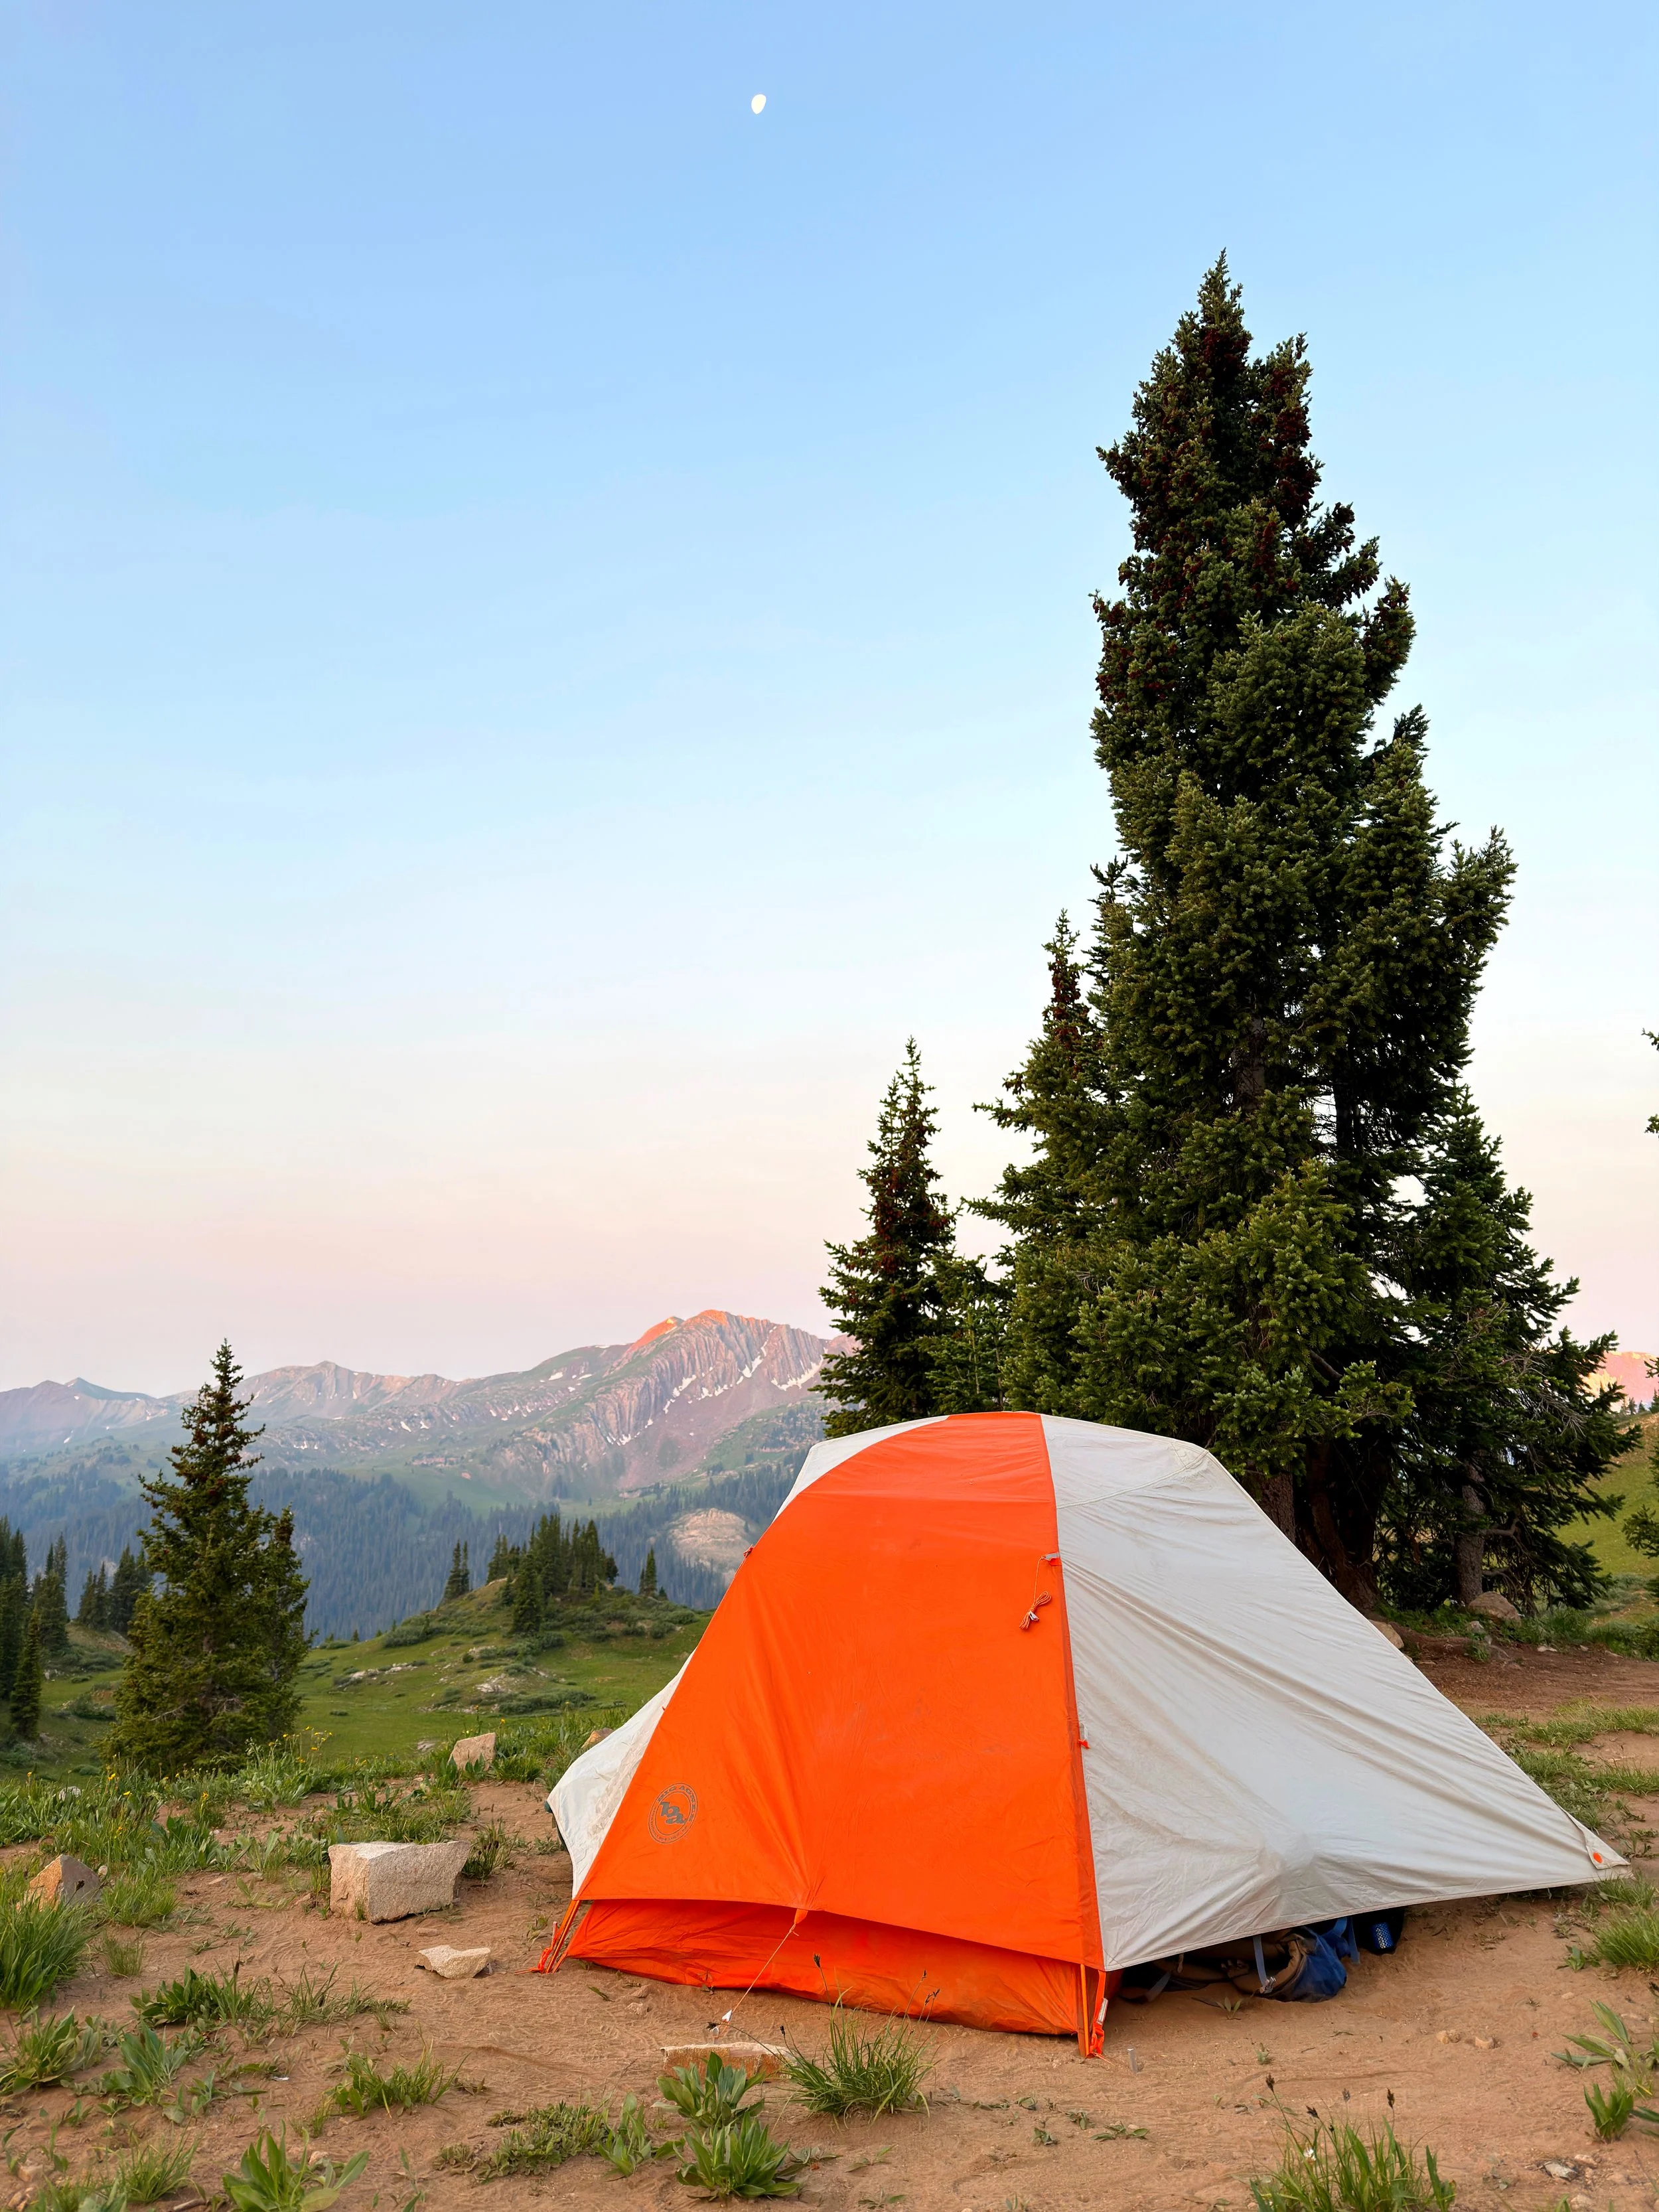
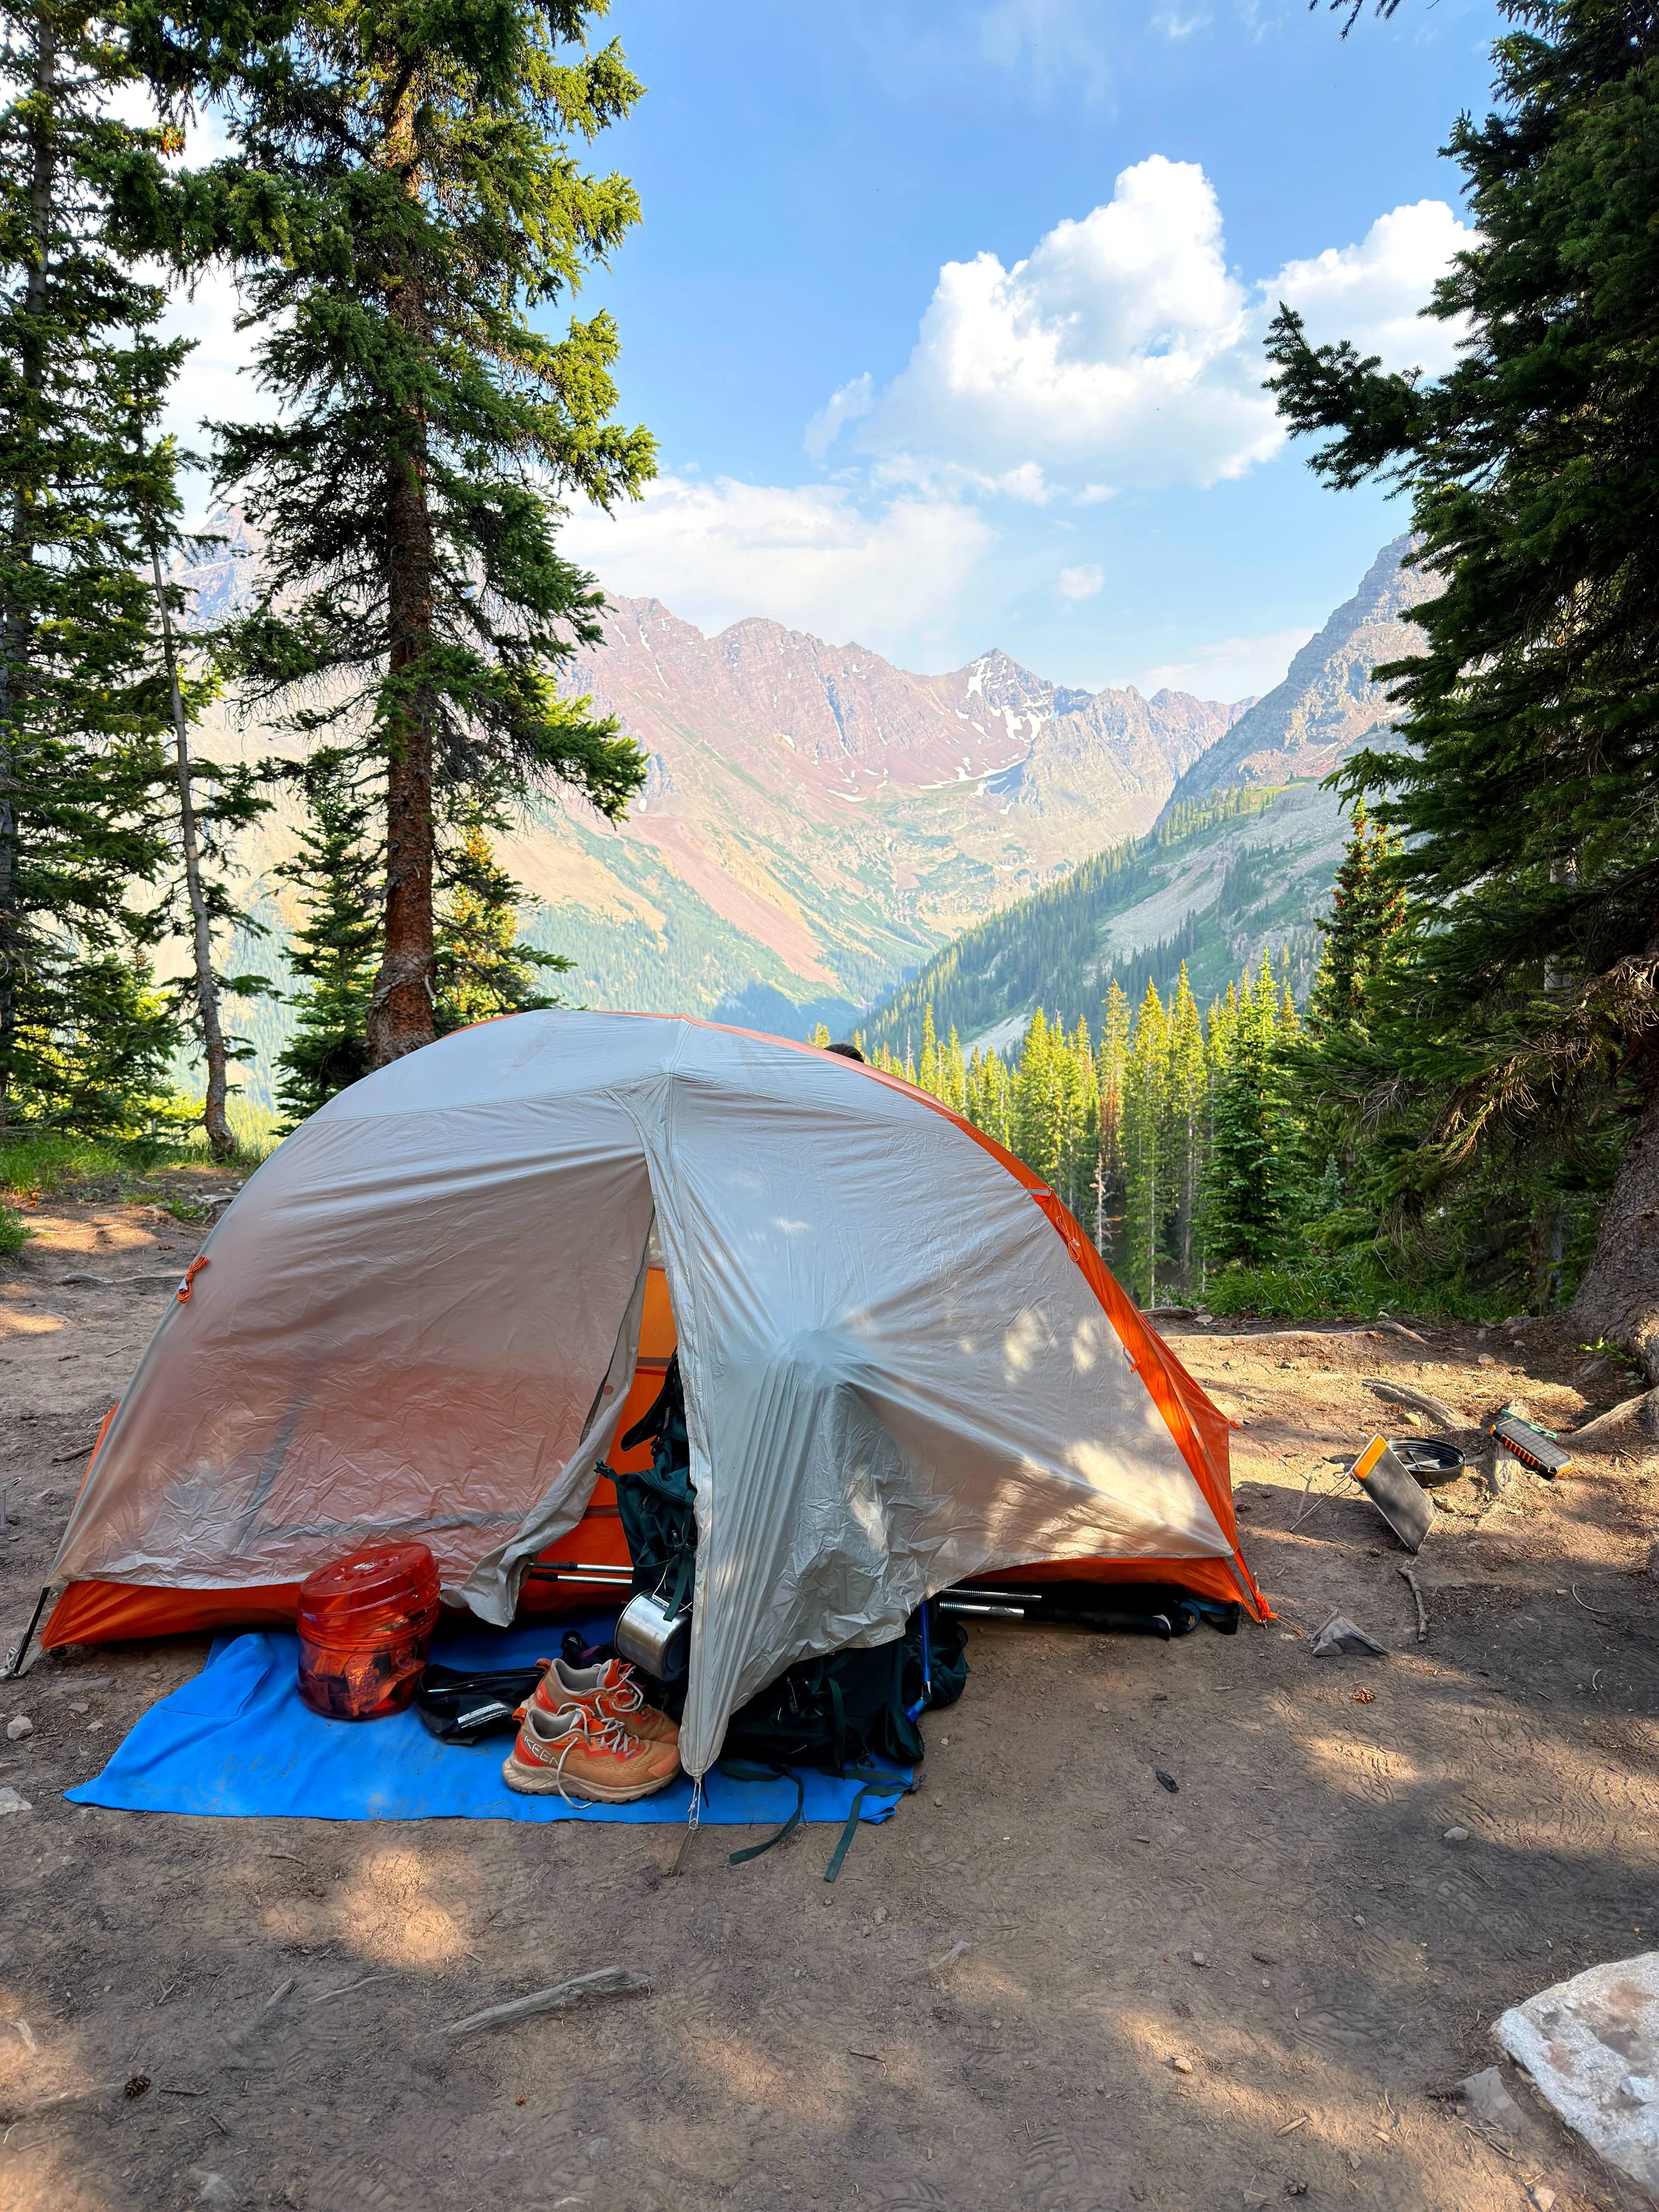
This was actually my favorite campsite of the entire trek. We had a beautiful little lake nearby, stunning 360-degree mountain views, and a flat, private spot for our tent. Since the day was only about 6 miles, we also had plenty of time to hang out, soak in the scenery, and let our very tired legs recover.
This was also the day we ran into rangers on the trail checking permits and bear canisters to make sure everyone was following the rules. They were incredibly kind and knowledgeable and thankfully, they had no idea we’d accidentally slept in the wrong zone the night before.
Day 3: Trail Rider Pass → Snowmass Lake → Buckskin Pass (~10 Miles)
Camping Zone: Upper Snowmass
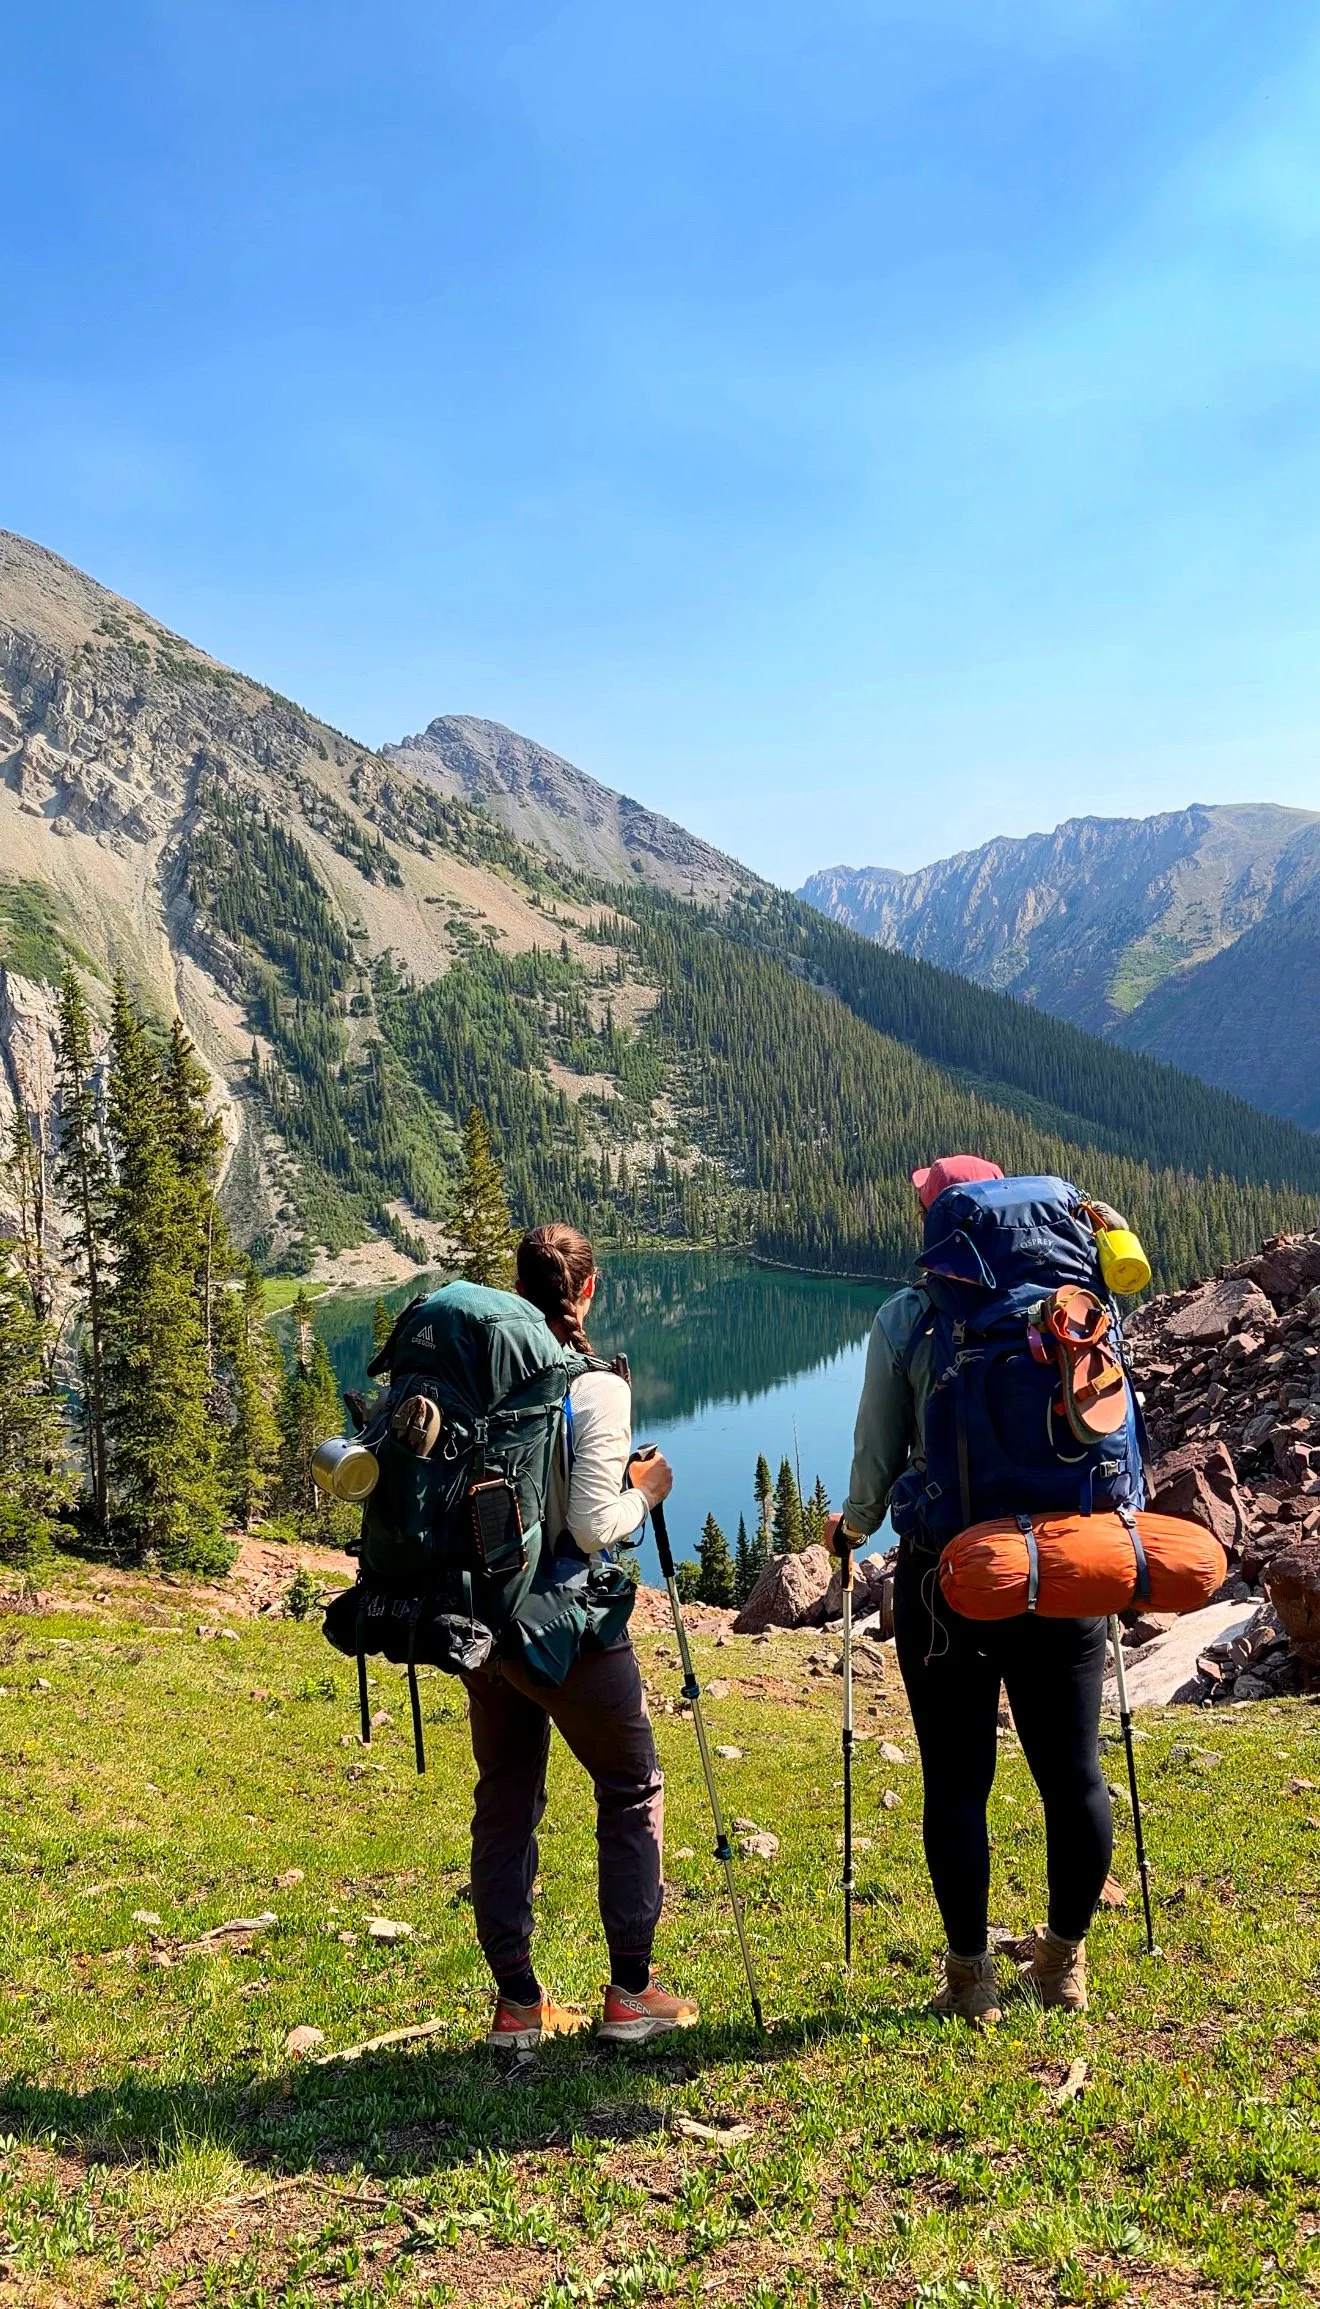
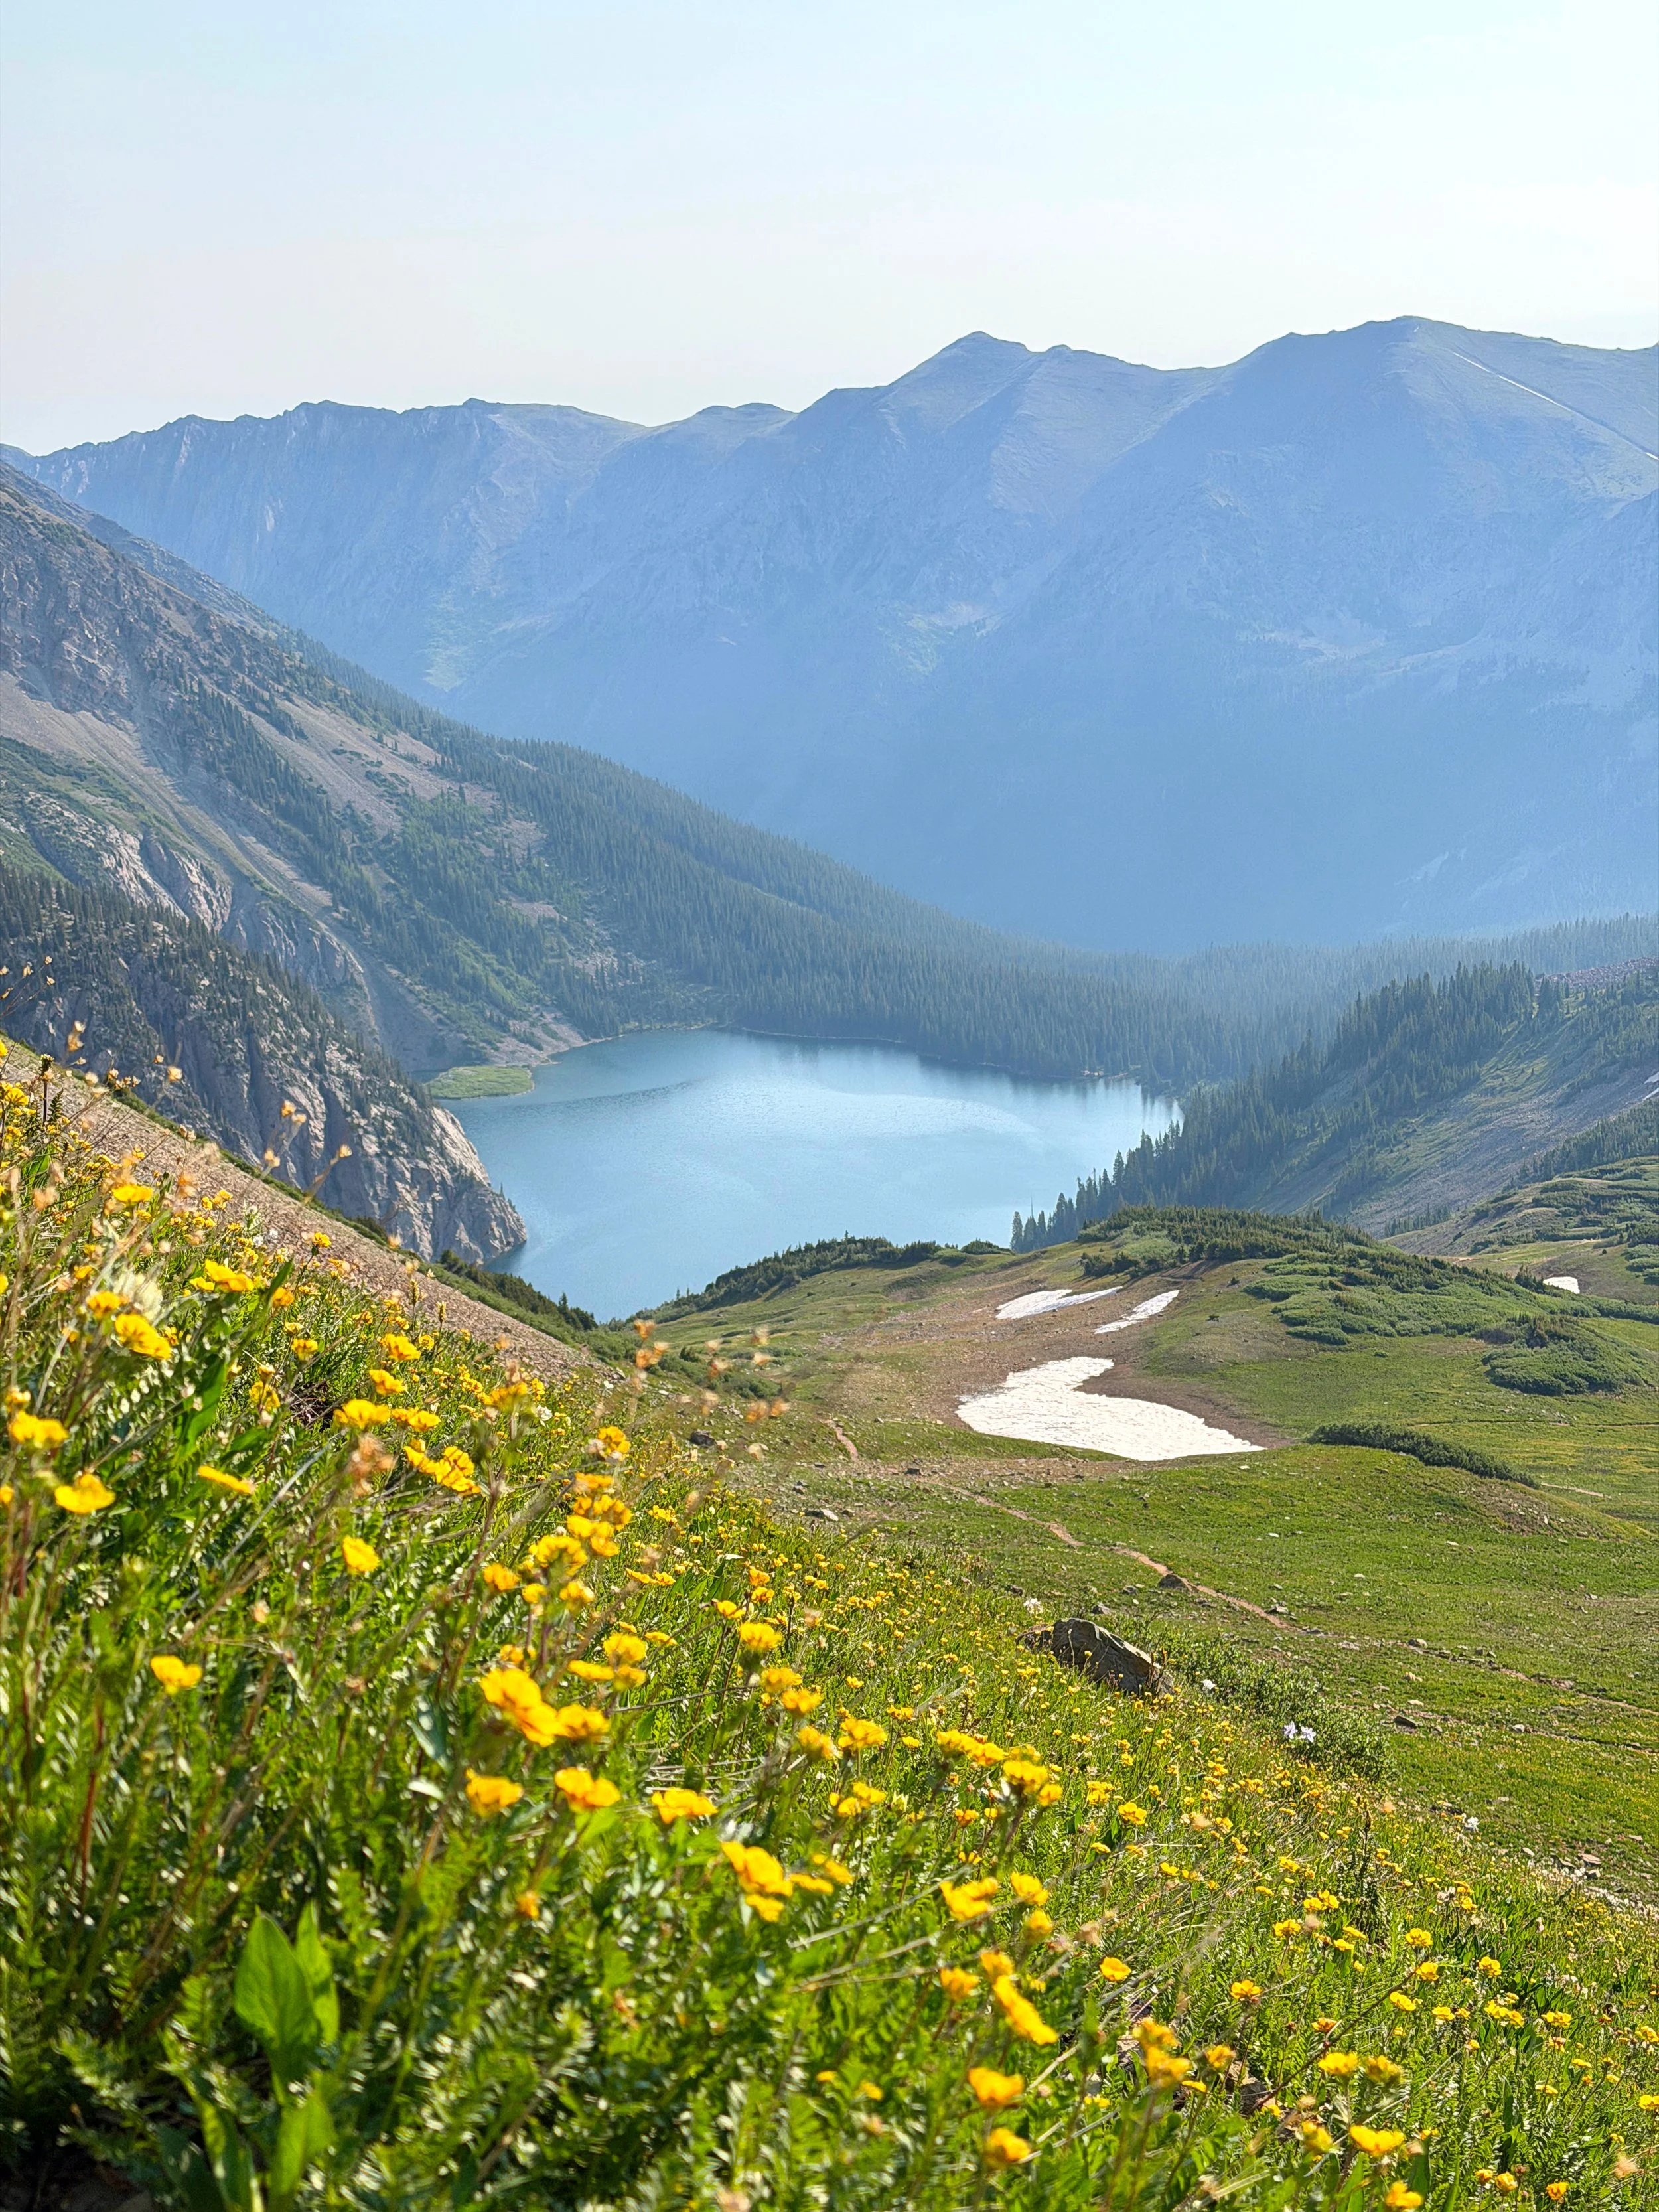
We really had to hype ourselves up for this one. We knew it would be a longer day, and it started with a steep climb straight to the top of Trail Rider Pass (~12,400 ft). Thankfully, the views at the top made the climb completely worth it. Looking down on Snowmass Lake for the first time was one of the absolute highlights of the loop.
Our permit was for Snowmass Lake, but we wanted to knock out a few more miles so our final day could be short and sweet. So, we kept hiking past Snowmass Lake (which, by the way, I’d absolutely recommend spending a night at if you can snag the permit - it really is that special) and continued toward Buckskin Pass.
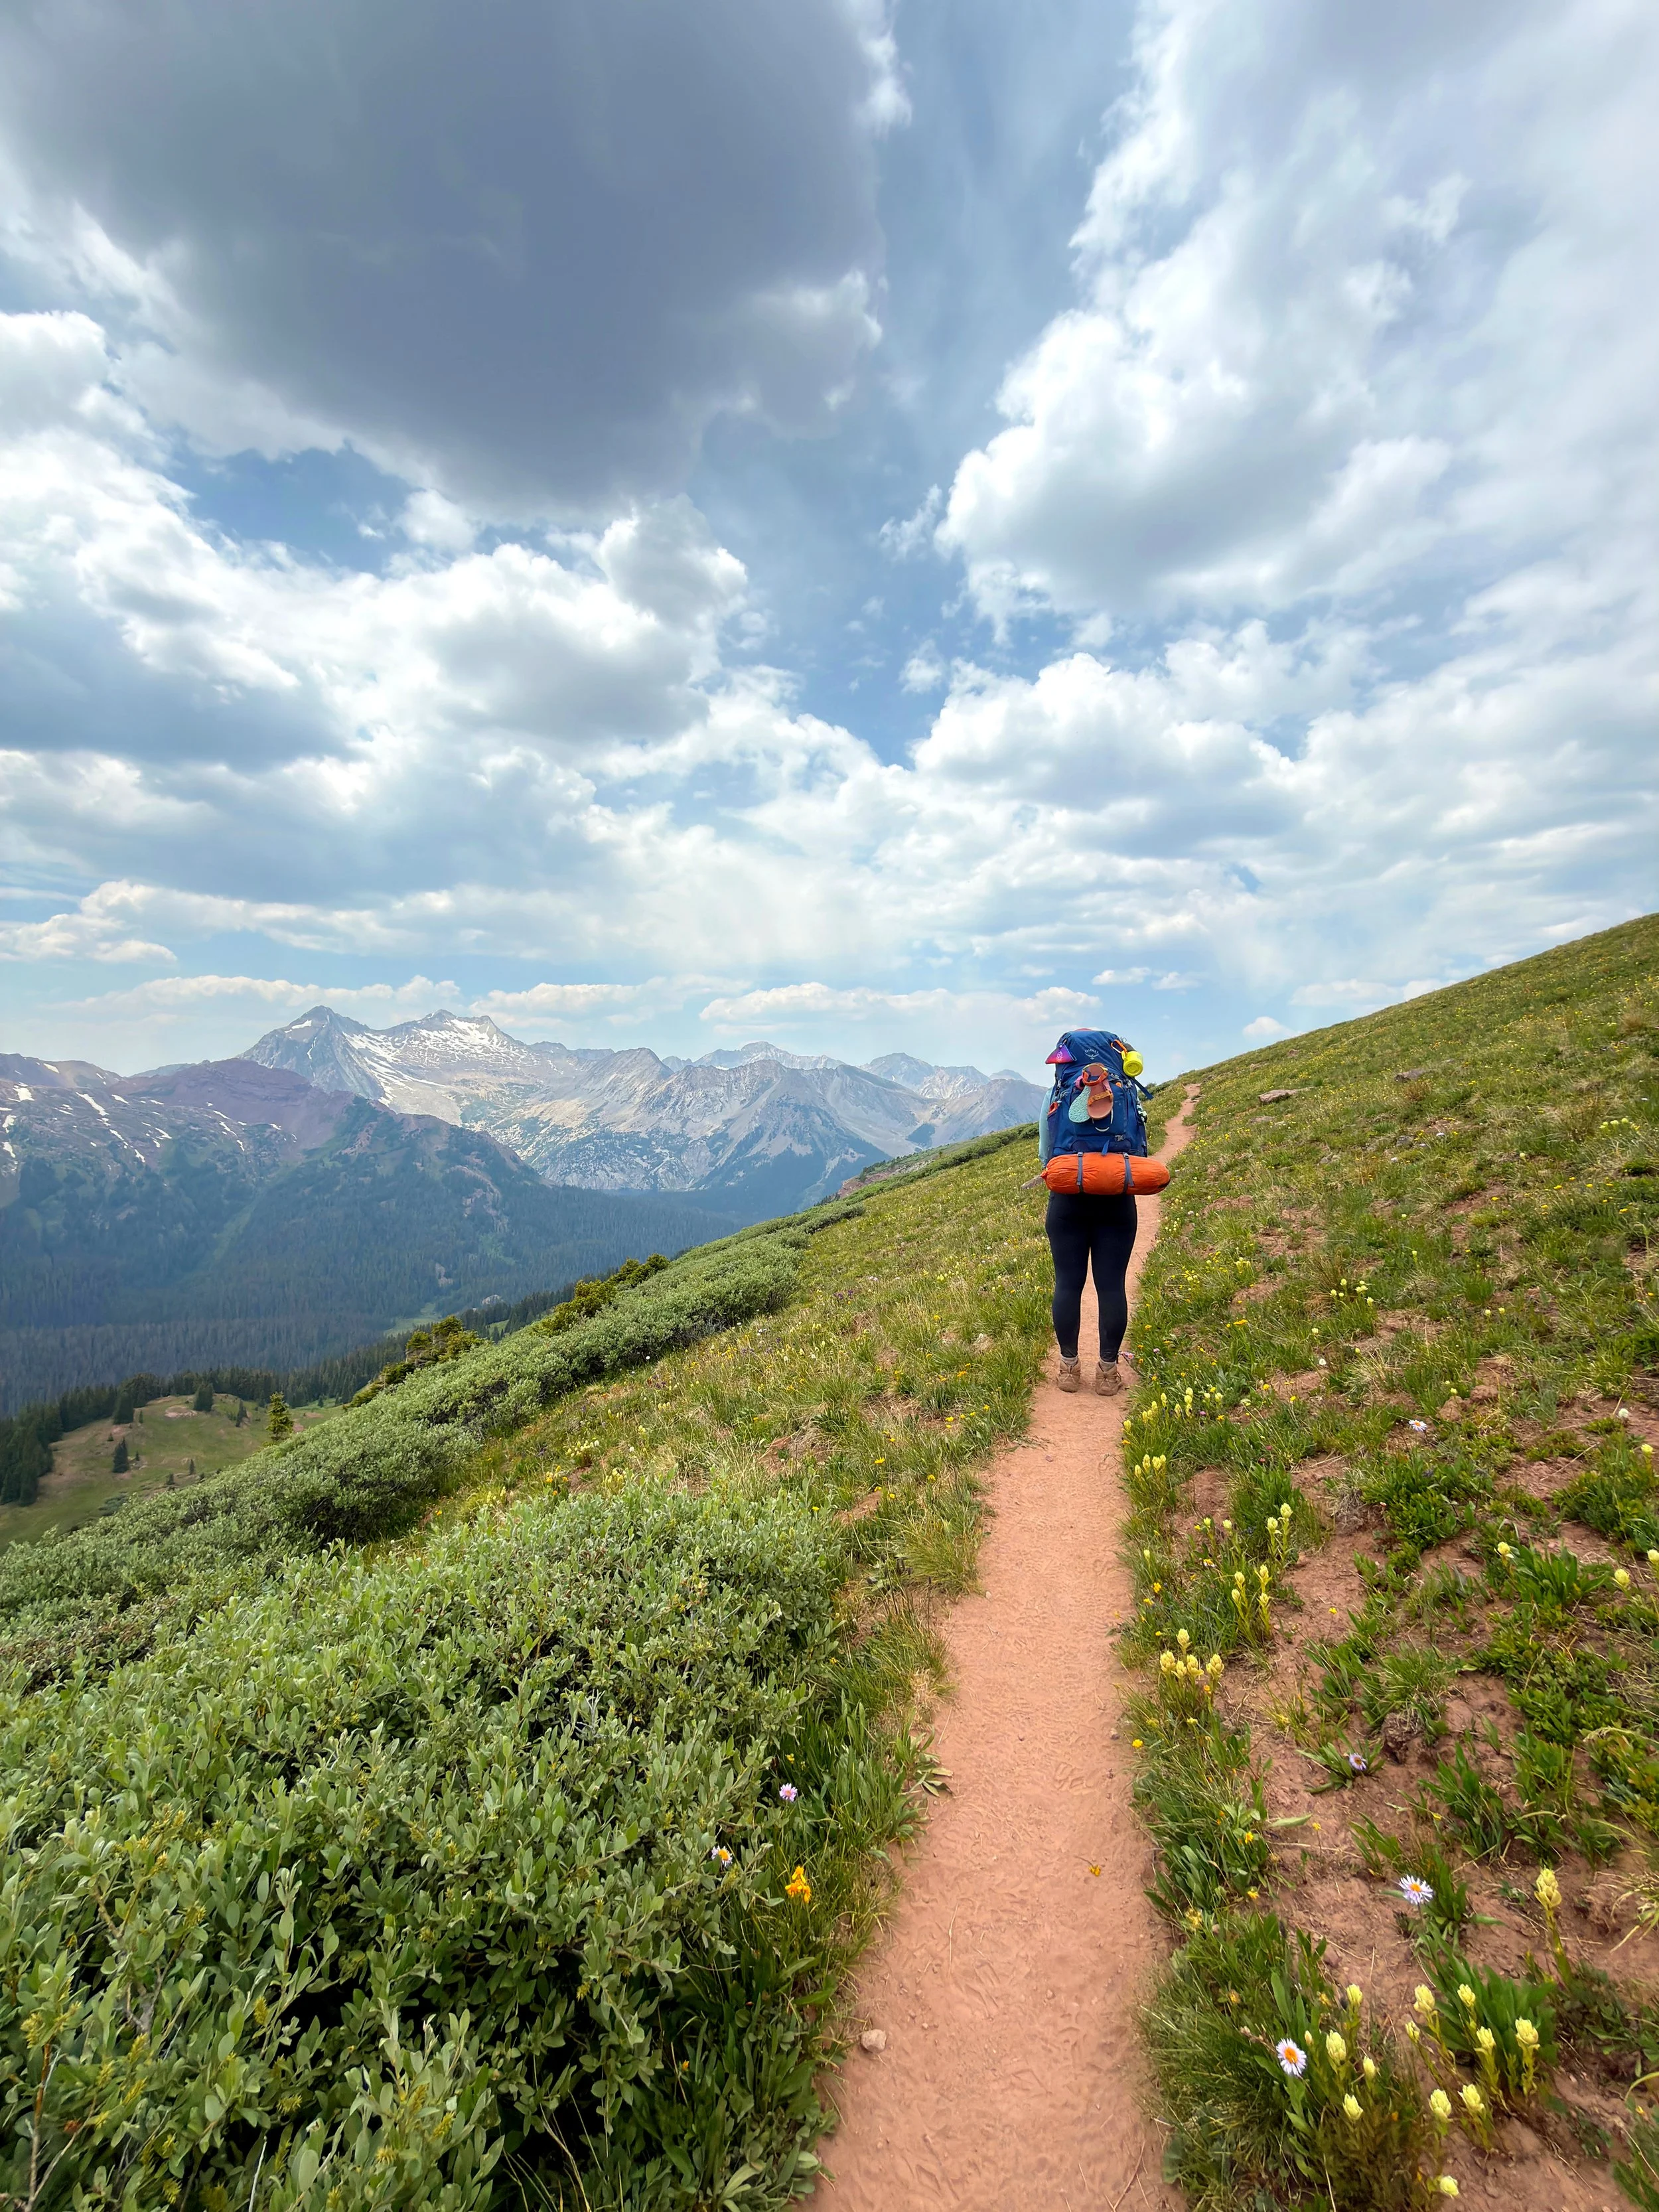
And Buckskin was my favorite pass of the entire trek. It was a long, hard climb, but the views from the top were incredible, with spectacular alpine flowers and marmots seemingly cheering us on with every step. There’s something pretty magical (and relieving) about reaching your final pass and knowing the biggest climbs are officially behind you.
After descending from Buckskin, we made our way to the first campsite we could find in the Upper Snowmass Zone. We lucked out with another gorgeous campsite, tucked beside a flowing stream and overlooking an incredible valley. We settled in for our final night on the trail, tired, happy, and feeling pretty damn accomplished.
Day 4: Buckskin Pass → Maroon Bells (~4 Miles)
Finish at Maroon Lake
From our last campsite, it was pretty much smooth sailing all the way back to the Maroon Bells Trailhead. After three big days of hiking, this final stretch felt short, sweet, and incredibly rewarding.
We took one last look at the Maroon Bells, high-fived, and immediately started planning our victory meal: a burger, fries, and a very well-earned beer.
While we had originally planned for our final day to be a little longer, I was honestly grateful for the early finish. It gave us plenty of time to head home, rest, relax, recover, and then scroll through the hundreds of photos we somehow managed to take along the way.
Permits, Camping & Parking
If you’re planning to backpack the Four Pass Loop, permits and parking should be at the very top of your to-do list. You’ll need an overnight wilderness permit, camping is limited to designated zones (and yes, you’ll want to stick to them!), and your wilderness permit does not automatically include parking or access to the Maroon Bells trailhead.
📋 Overnight Permits
Because the Four Pass Loop travels through the Maroon Bells-Snowmass Wilderness, overnight backpackers are required to obtain an advance wilderness permit. You’ll need to reserve a specific camping zone for each night of your trip, so for a 4-day / 3-night itinerary, you’ll need three consecutive overnight camping-zone reservations.
This is especially important when deciding which direction to hike. Your camping zones need to line up with your route, so don’t wait until permit day to figure out your itinerary.
Before logging onto Recreation.gov at 8:00 a.m. MST to snag your permits, have a general idea of which direction you want to hike and which zones you’d ideally like to camp in each night. That said, availability can disappear quickly, so be ready to pivot—and have a Plan B (and maybe a Plan C) in your back pocket.
How much does the permit cost?
For 2026, overnight permits from May 1–October 31 cost $10 per person, per night, plus a $6 non-refundable reservation fee per permit. Children 16 and under are free. Reserve your Four Pass Loop permit on Recreation.gov
A few important permit rules:
Permits must be reserved through Recreation.gov.
You need a designated camping zone for each night of your trip.
Permits are limited to two per person per calendar year.
The maximum stay is seven nights.
Your permit holder or alternate trip leader must be present.
Bring a printed copy of your permit and photo ID.
Permits are non-transferable.
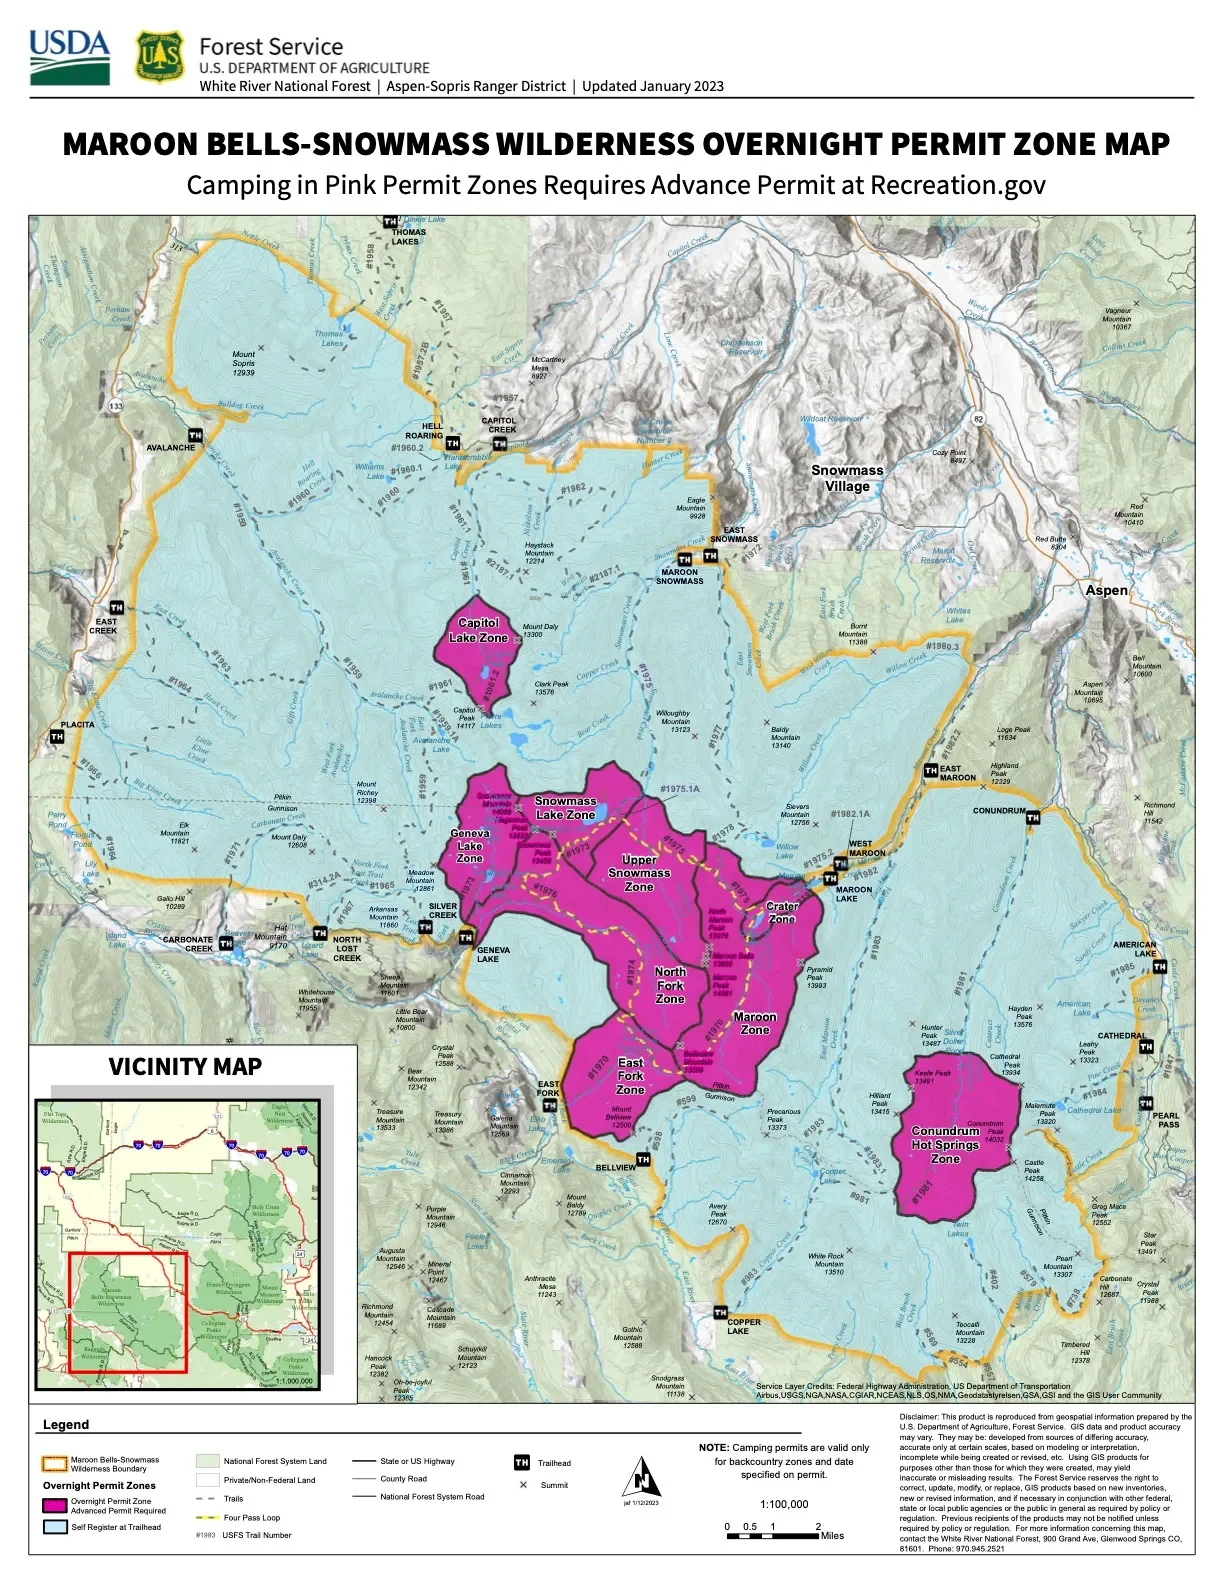
⛺️ Camping Zones
The map below is a great resource for planning your camping zones around your ideal itinerary. There are several zones to choose from, and the best combination for you will depend on how far you want to hike each day and where you want to spend the night.
Based on my own experience, here are the zone combinations I’d recommend:
Clockwise Camping Zone Options:
🏕️ Night 1: East Fork or North Fork
🏕️ Night 2: North Fork or Snowmass Lake
🏕️ Night 3: Snowmass Lake or Upper Snowmass
Counterclockwise Camping Zone Options:
🏕️ Night 1: Upper Snowmass or Snowmass Lake
🏕️ Night 2: Snowmass Lake or North Fork
🏕️ Night 3: North Fork or East Fork
When booking your permit, pay close attention to the zone names and dates. You can’t simply set up camp wherever you find a nice flat spot (trust me, I learned this one the hard way). Your permit determines where you’re allowed to camp each night (and there are quotas for the number of people that can camp in each zone), so make sure your itinerary and reservations line up.
🚗 Parking & Getting to the Trailhead
If you're starting and ending your trip at Maroon Bells, you'll also need to figure out how you're getting to the trailhead. Access to the Maroon Bells Scenic Area is limited, and you'll need the appropriate parking reservation or shuttle reservation depending on your plans and the current access system.
Remember, your wilderness camping permit does not automatically give you a parking reservation. So you’ll need to plan in advance where you are going to park.
Parking options:
Maroon Bells Trailhead — This is definitely the best and cheapest option, but spots are limited and can go quickly. Once you have your wilderness permit, you can book overnight parking at the Maroon Bells Trailhead for just $10. I highly recommend doing this right away (and double-checking your dates, because, ahem, this is where I messed up 😅). Important: You must arrive at the trailhead before 8:00 a.m. or after 5:00 p.m. If you’re driving from Denver, that means either waking up very early to make the drive, camping somewhere nearby the night before, or starting your trek after 5:00 p.m.
Aspen Highlands — A convenient option if you’d rather not worry about trailhead parking. You can park in the covered garage at Aspen Highlands and take a shuttle to the Maroon Bells. The downside is that it is pricier. Daily parking is $40 (so $160 for four days), plus the shuttle is $16 per person ($10 for children 12 and under).
Other Aspen Parking Options — There are several other parking lots in and around Aspen, including some free options. From there, you’ll take an RFTA bus to Aspen Highlands and then transfer to the Maroon Bells shuttle. This can be a more budget-friendly option, but it adds a few extra steps, so be sure to check current parking rates, bus schedules, and shuttle times before you go.
What to Pack for the Four Pass Loop
Packing for the Four Pass Loop is all about being prepared for high elevation, unpredictable mountain weather, and several days in the backcountry. Your packing list should cover the basics - shelter and sleep system, clothing and layers, food and water, navigation, first aid, and emergency essentials - plus a few Four Pass Loop-specific items you absolutely don’t want to forget.
🏕️ The Backpacking Basics
Make sure you have everything you need to comfortably and safely spend several nights in the backcountry, including:
Shelter + sleep system: Tent, sleeping bag, sleeping pad, and pillow
Clothing + layers: Moisture-wicking base layers, insulating layer, rain gear, sun protection, and extra socks
Food + water: Snacks + meals, water bottle and/or bladder, electrolytes, and a reliable filtration or purification system
Navigation: Offline maps, GPS/navigation device or app, and/or a physical map + compass
Safety + first aid: First-aid kit, emergency communication device, headlamp, lighter/fire starter, and bear spray
Hygiene + bathroom supplies: Toilet paper, trowel (or wag bags), hand sanitizer, etc. and other personal essentials
🏔️ Four Pass Loop Must-Haves
There are also a few things specific to this trip that you’ll want to have squared away before hitting the trail:
Bear canister: An approved bear-resistant food storage container is required in the Maroon Bells-Snowmass Wilderness for storing food, trash, and scented items.
Signed/printed wilderness permit: Bring your printed + signed permit, and keep it accessible in your pack. Rangers do check!
Plenty of water capacity: Some sections are exposed and water availability can vary, so make sure you have enough capacity to carry what you need between reliable water sources. (I recommend ~3L!)
Want to make sure you don't forget anything? I've put together my Ultimate Backpacking Checklist with everything you need to pack for your next multi-day adventure, from the big-ticket essentials to the little things that are very easy to forget.
Final Thoughts
Look, the Four Pass Loop is hard. There’s no getting around the elevation, the big climbs, the heavy pack, or the moments when you’ll wonder why you voluntarily signed up for this. BUT there’s something incredibly empowering about pushing your body up a 12,000+ foot pass, tackling something that feels bigger than you, and realizing you’re capable of more than you thought. The effort feels completely worth it when you’re standing on top of a pass, looking out at miles of Colorado wilderness and thinking, holy shit, I did that.
So, if you’re looking for a Colorado backpacking adventure that packs a whole lot of scenery, challenge, and a healthy dose of Type 2 fun into fewer than 30 miles, put the Four Pass Loop on your list. Plan ahead, respect the wilderness, pack plenty of water, and give yourself enough time to actually enjoy it.
And when you finally make it back to Maroon Lake? Get yourself that burger, beer, and fries. You earned every damn bite.